Sori Chair (反り)
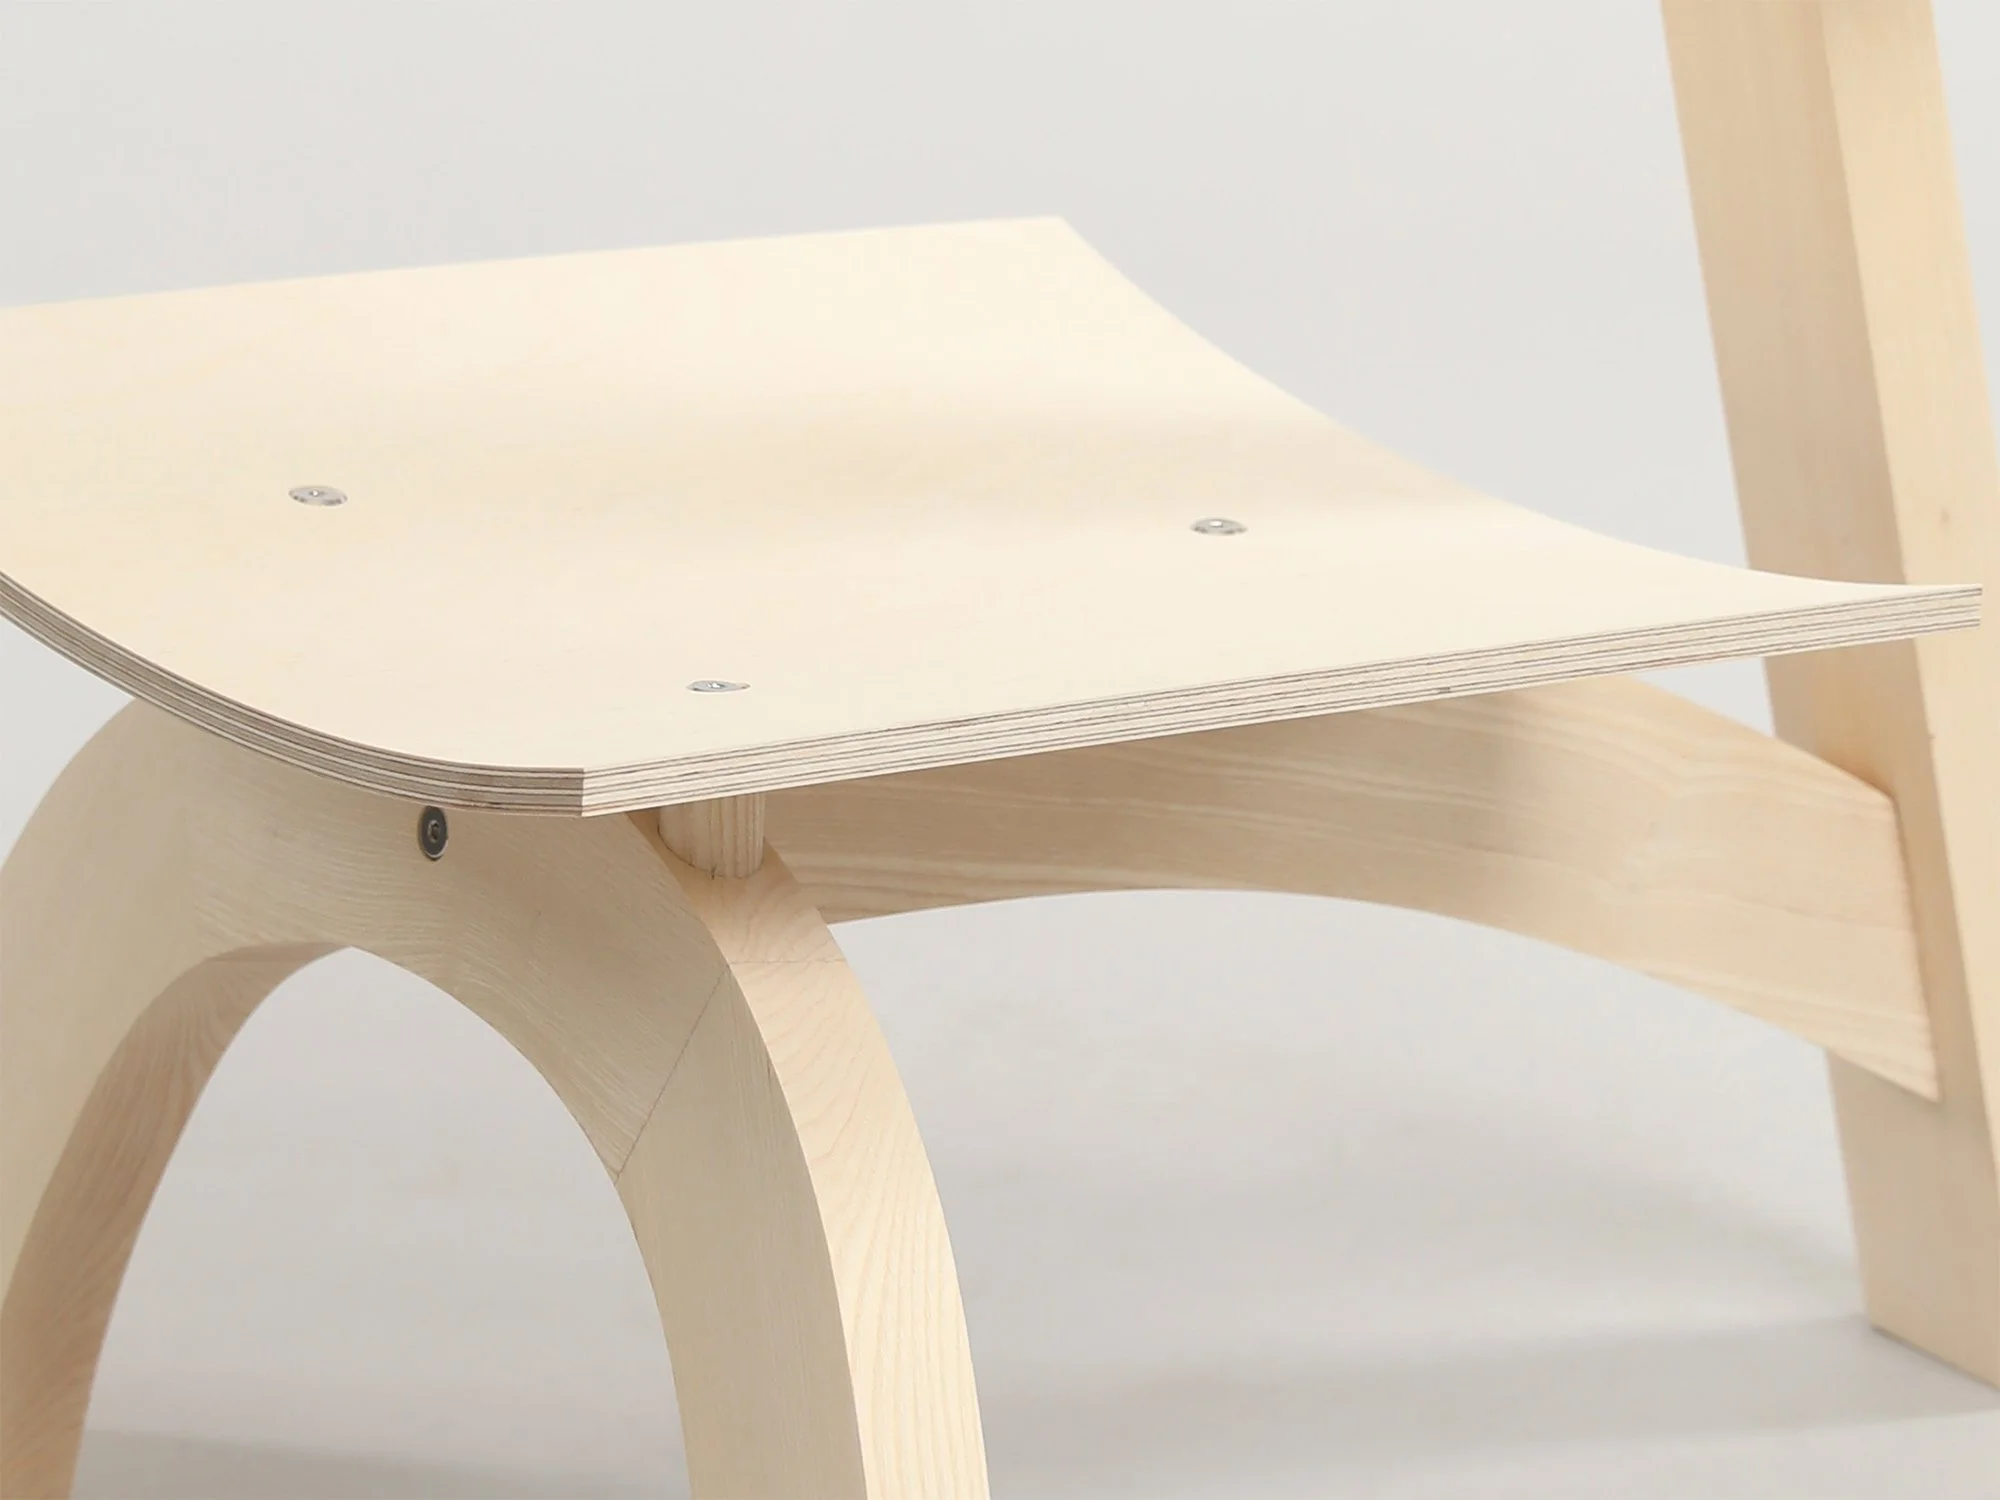
This project explores curved geometry and a three-point structure through the design of a low lounge chair. The name Sori comes from the Japanese word 反り, meaning “curve” or “arch,” a quality reflected throughout the chair’s form. This curvature carries across the front legs, stretcher, and seat, creating a cohesive design language. The low cylindrical backrest supports the lower back while allowing for a range of sitting and leaning positions.
Size: 50 × 55 × 58 cm
Materials: Ash, plywood
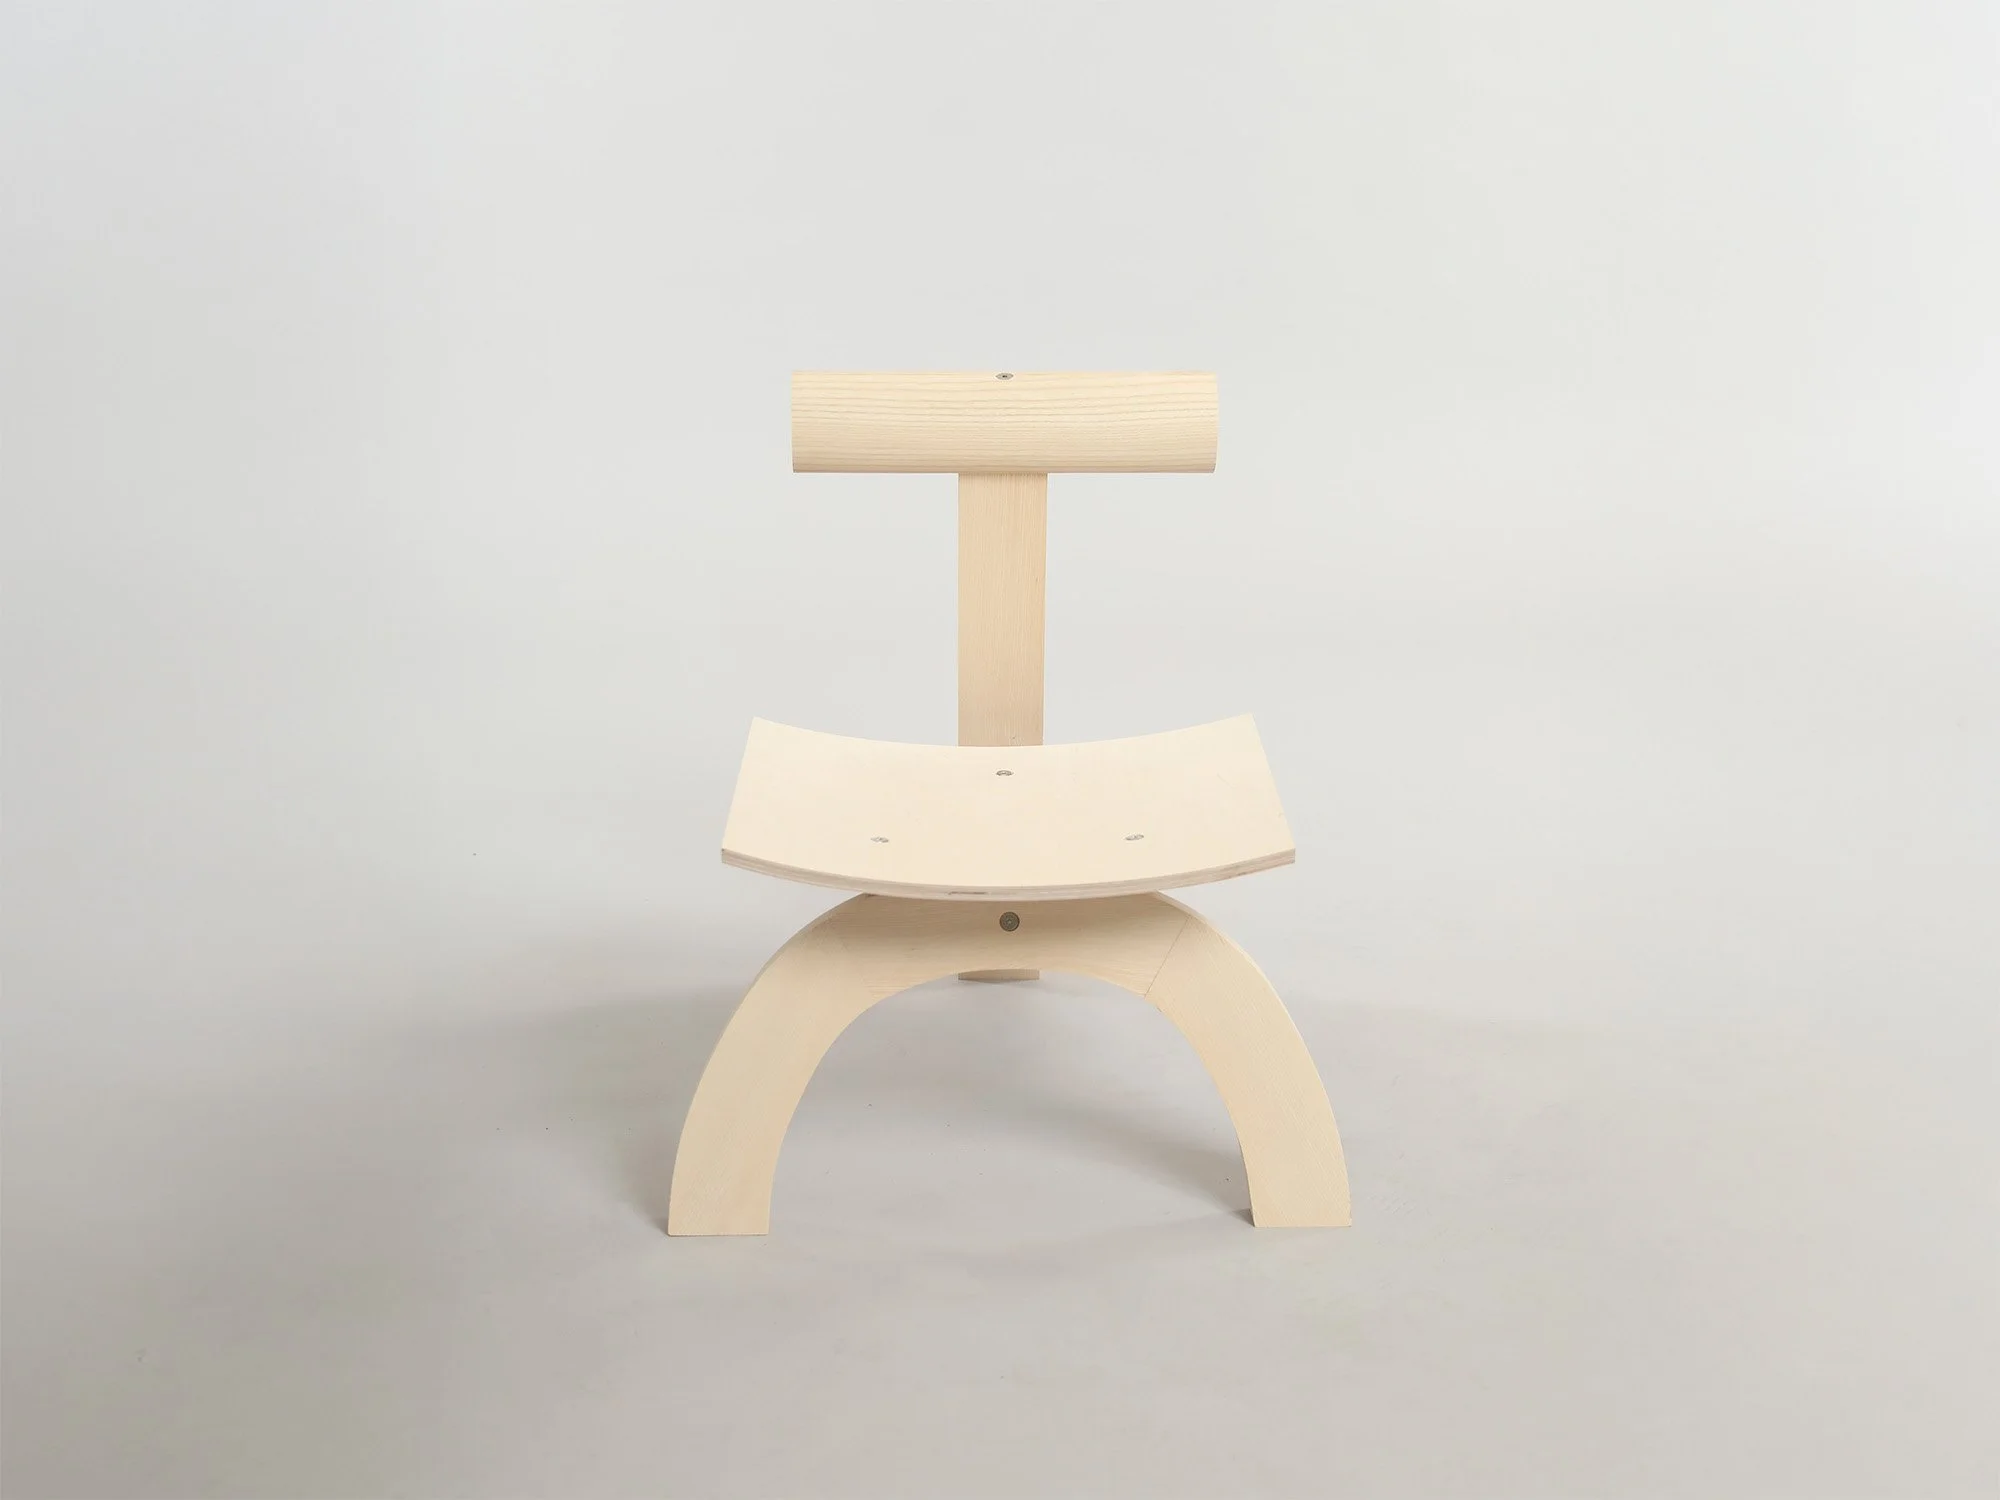
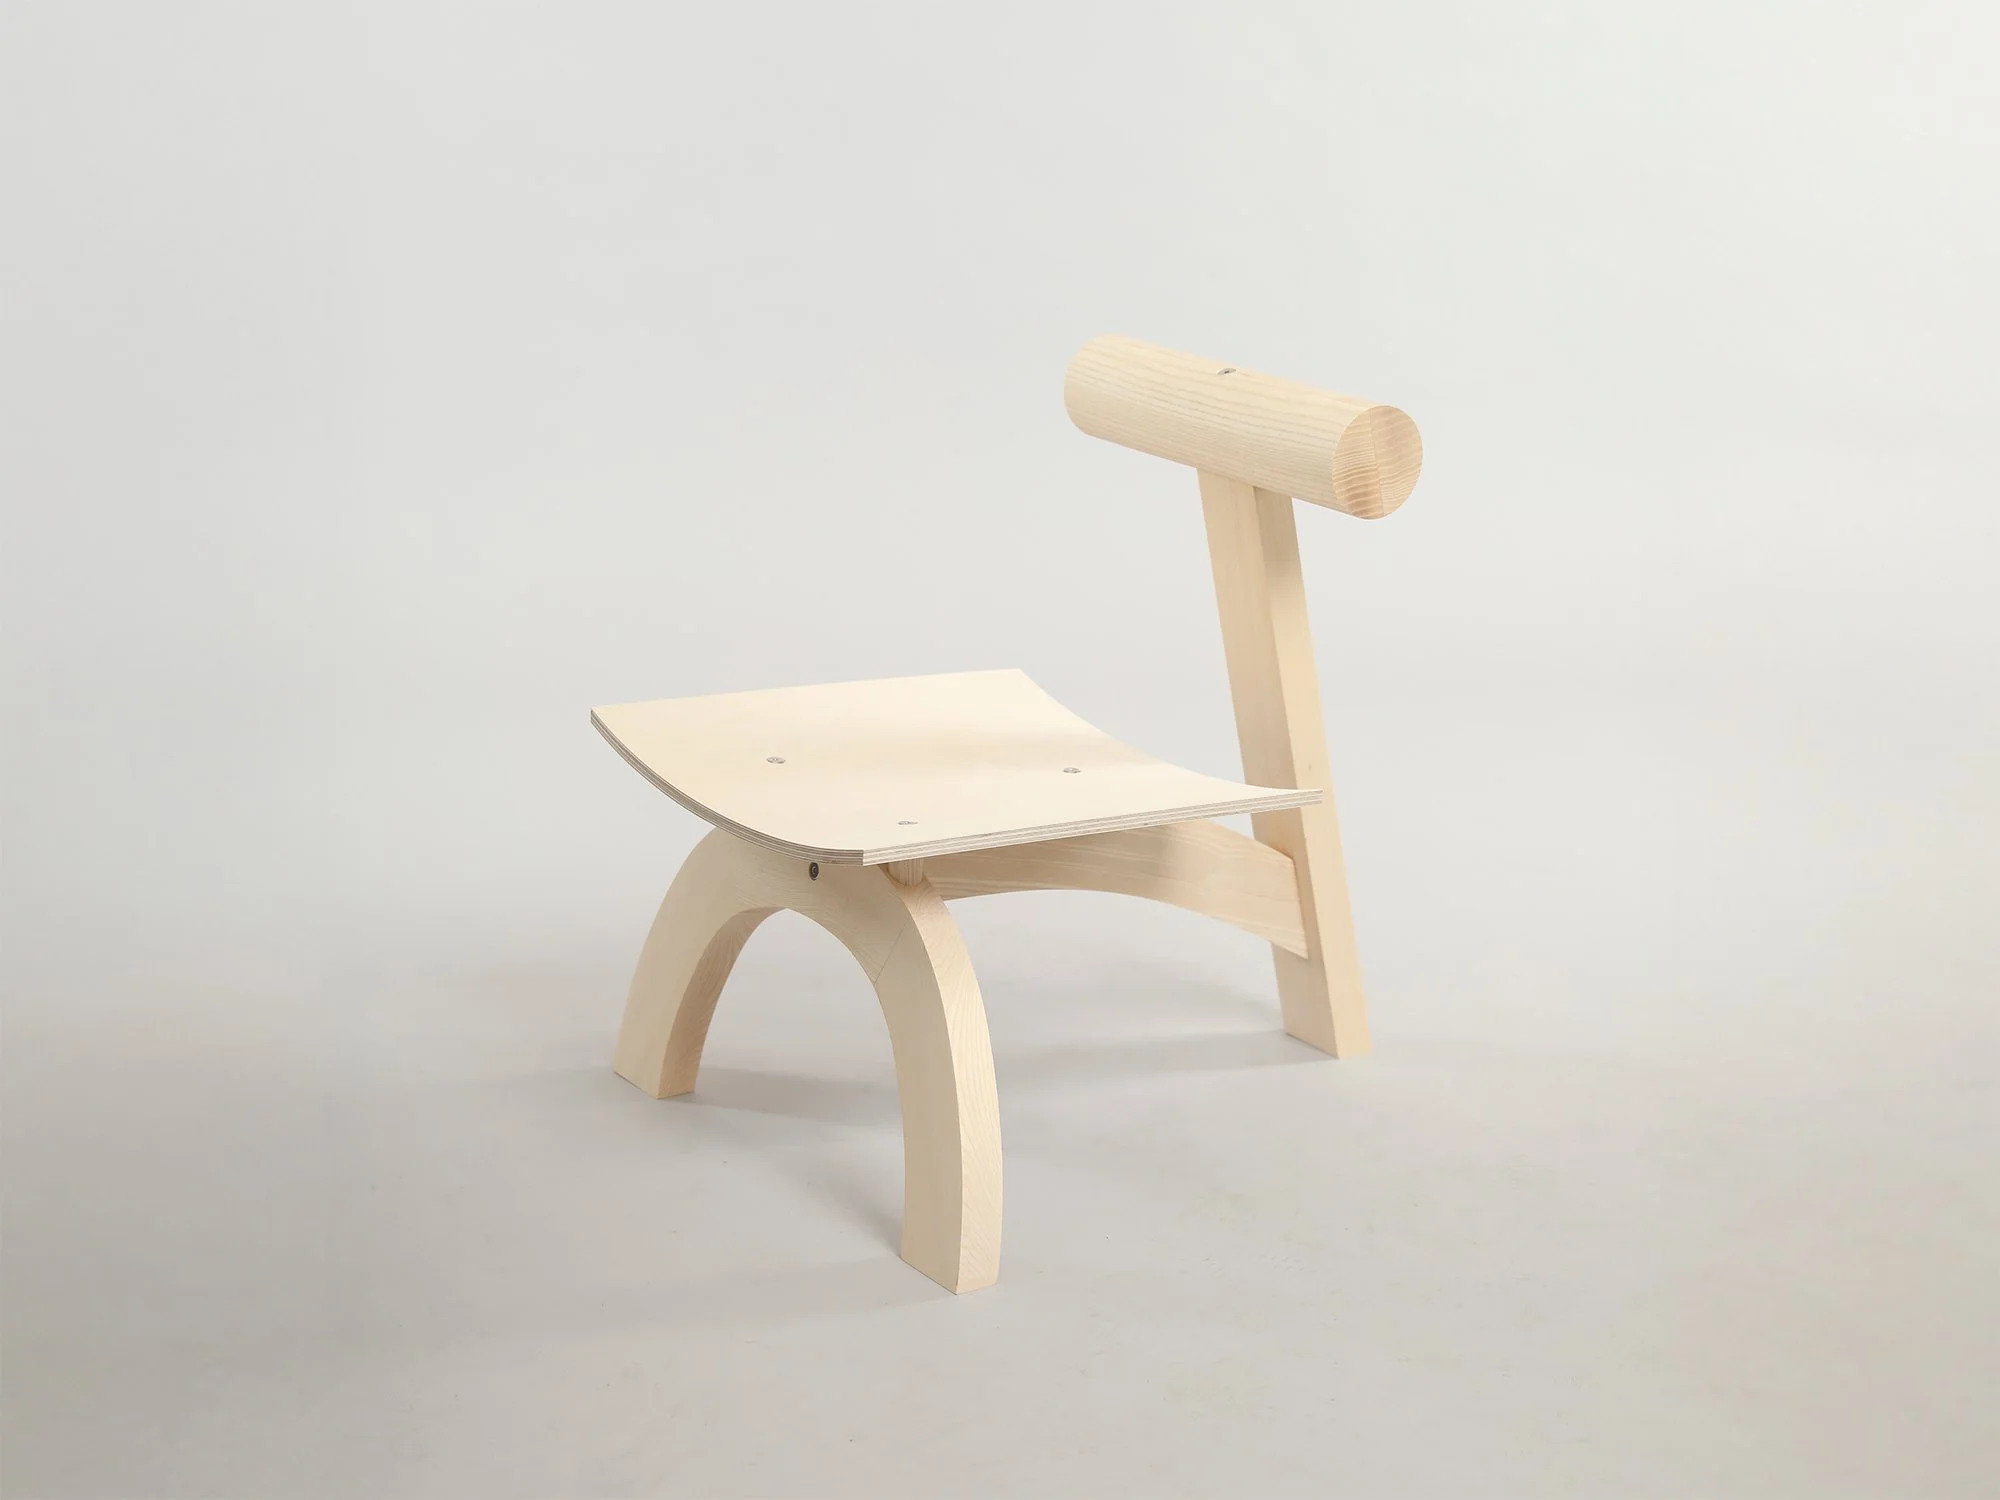
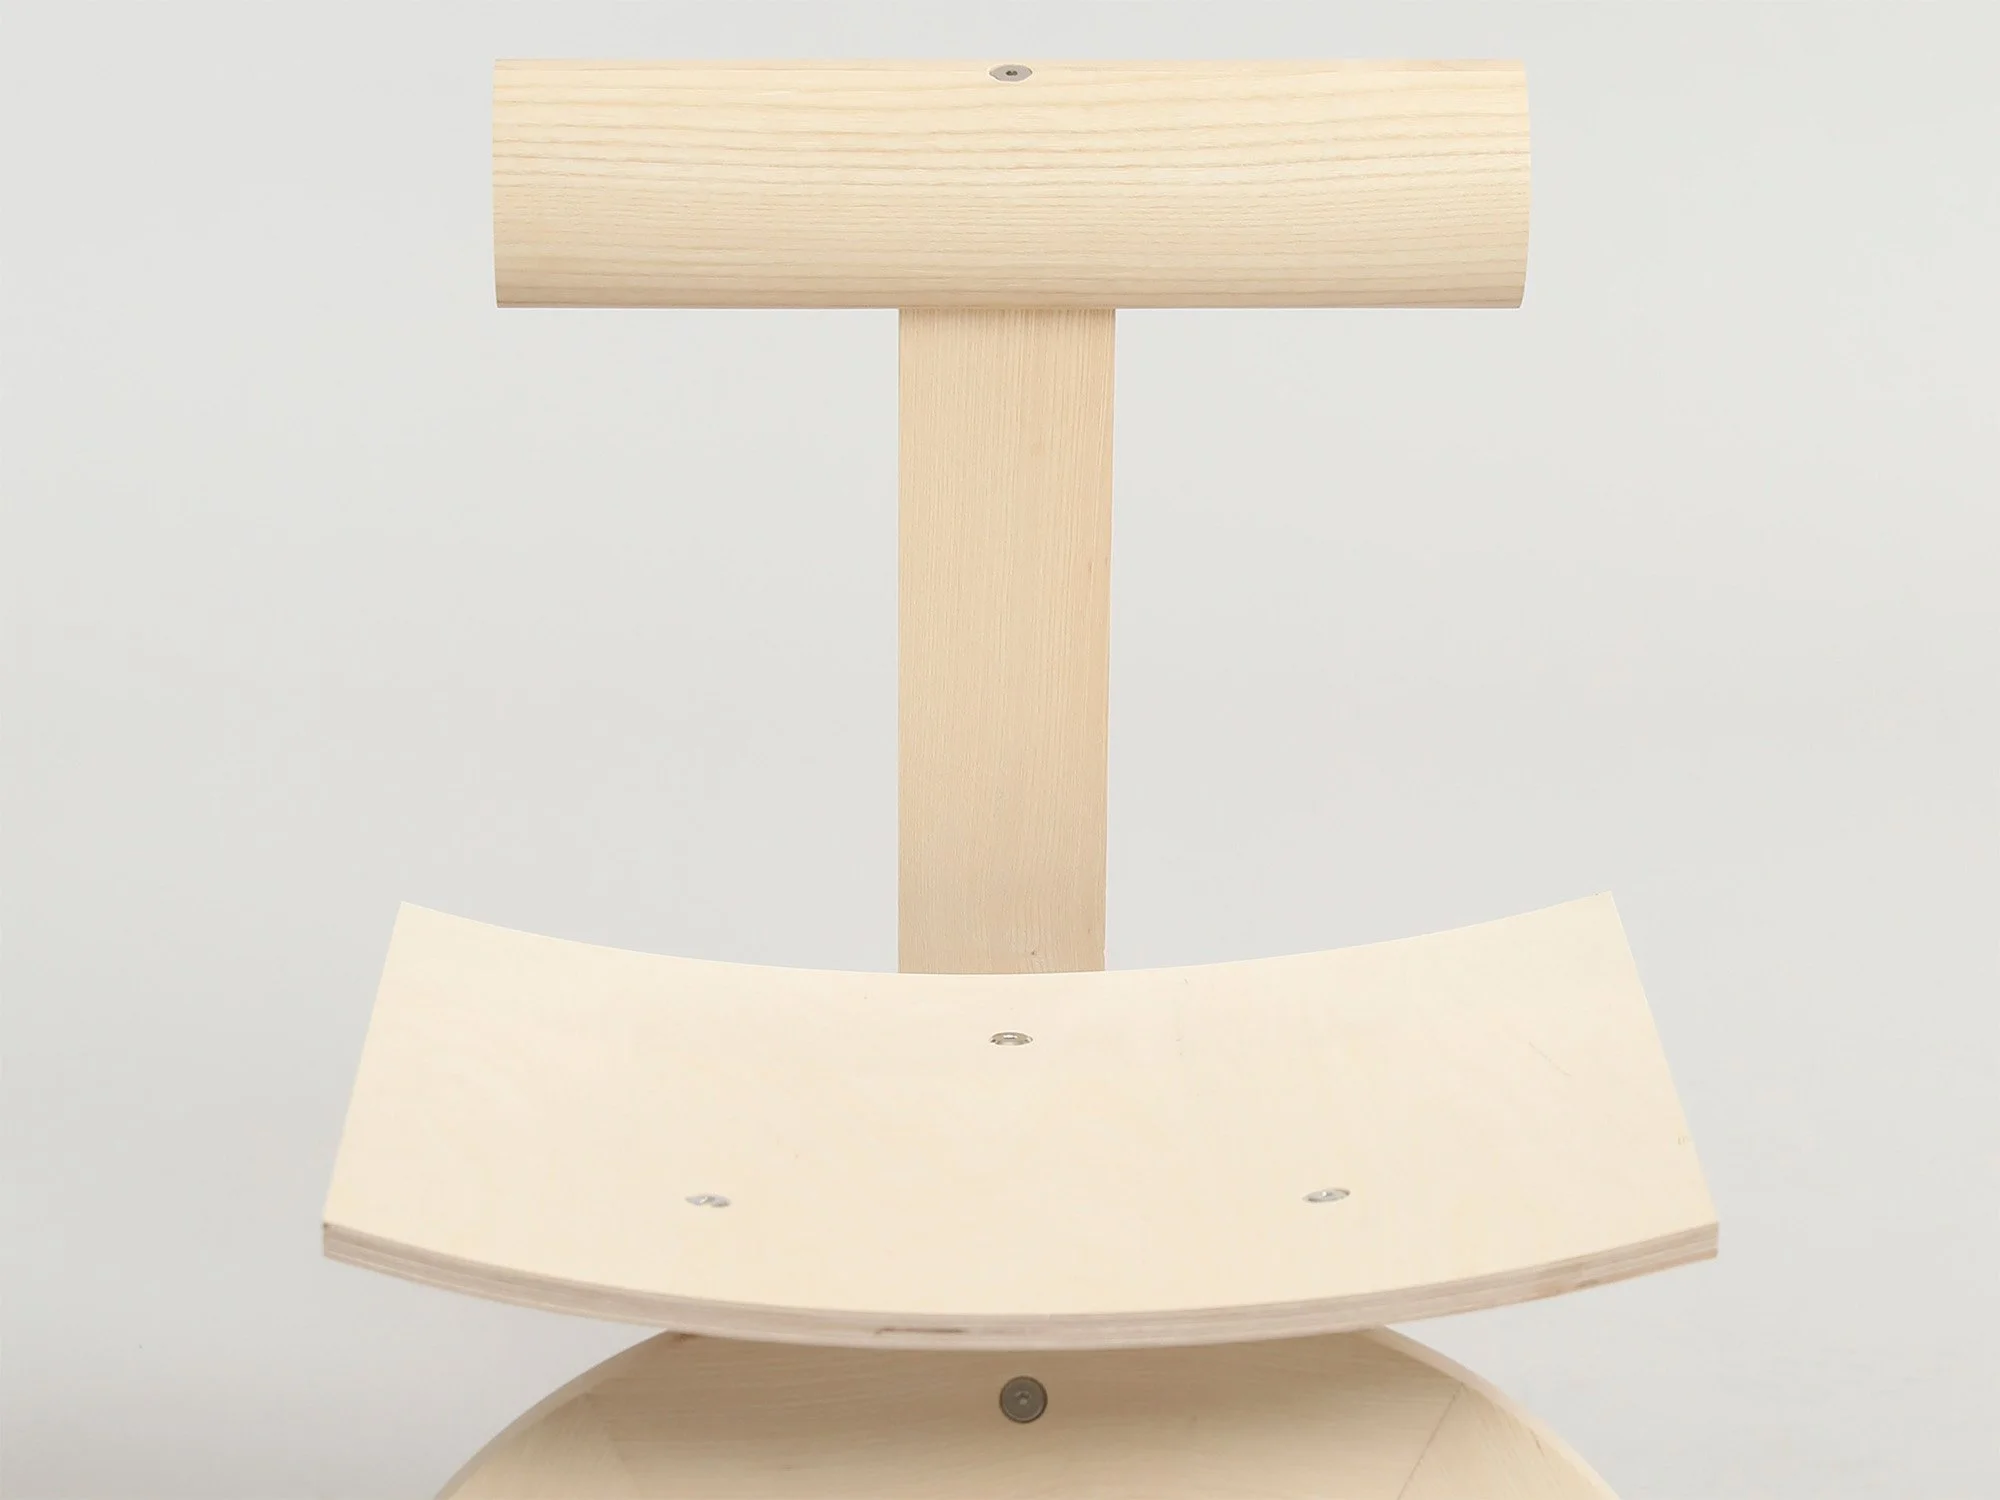
Over the summer of 2026, I had the opportunity to study furniture design in Copenhagen, Denmark. Over the six weeks, I was challenged to design and build a functional chair through a fully analog process, using just two ash lumber (3.5 × 10 × 200 cm each). The first three weeks were spent sketching and going through multiple rounds of iteration, followed by a week in Finland exploring Nordic architecture and the works of Alvar Aalto. The final two weeks were spent in the woodshop, turning sketches into something you could actually sit on. Along the way, I gained a deeper appreciation for Scandinavian design, craftsmanship, and the little details that make furniture special.
Below is a little look into how the Sori Chair came together.
01 — Ideation
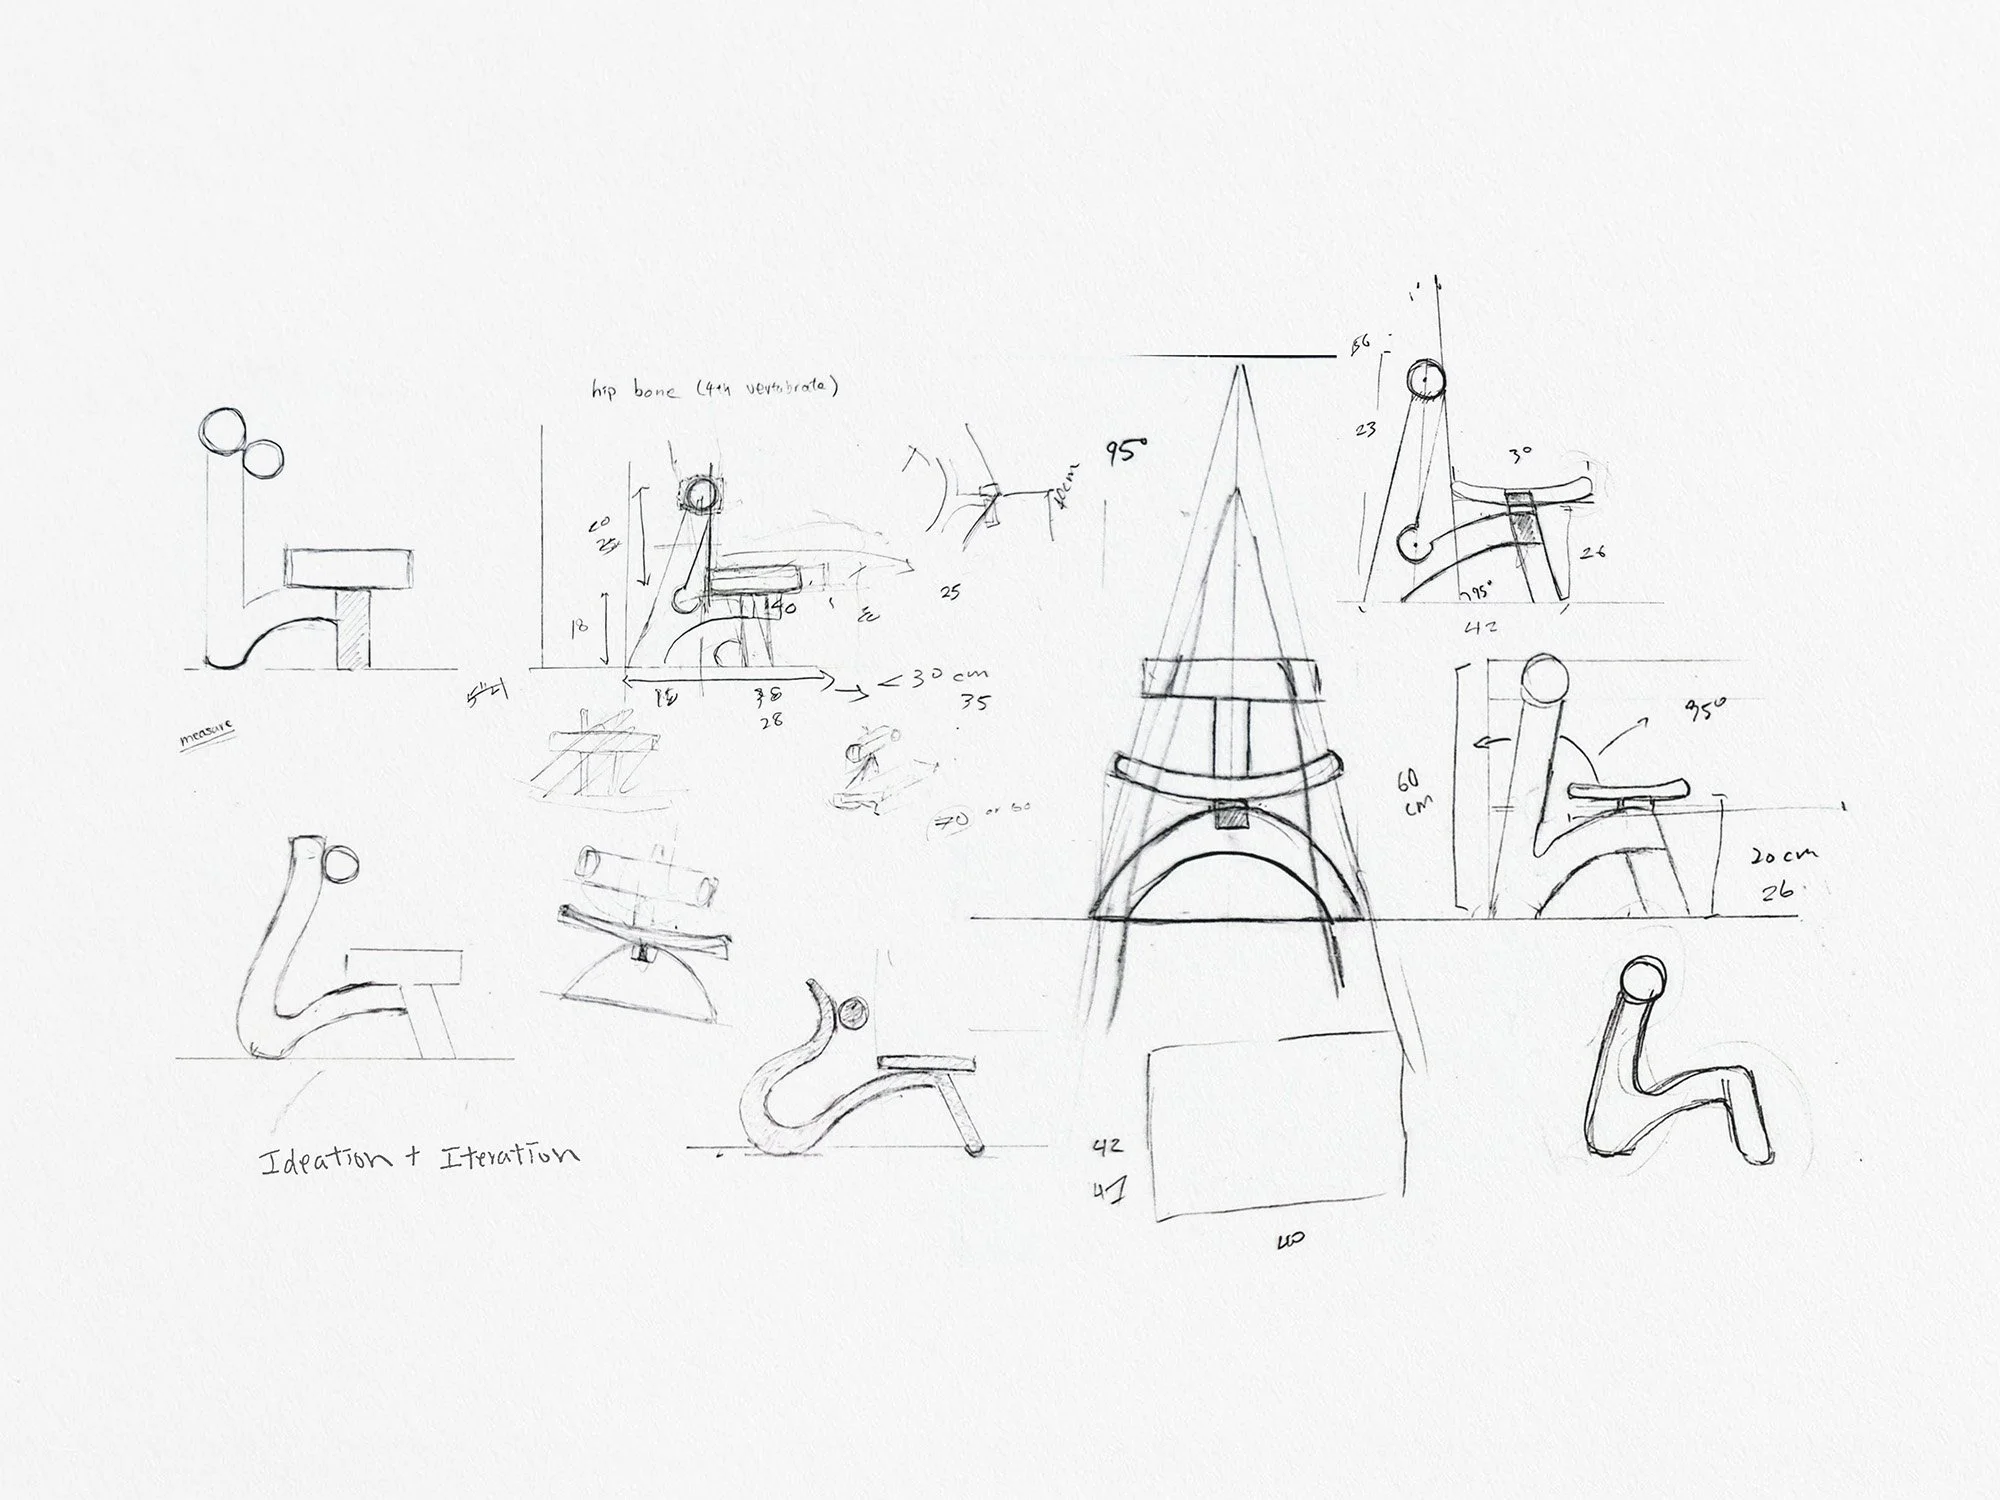
Ideation Sketches
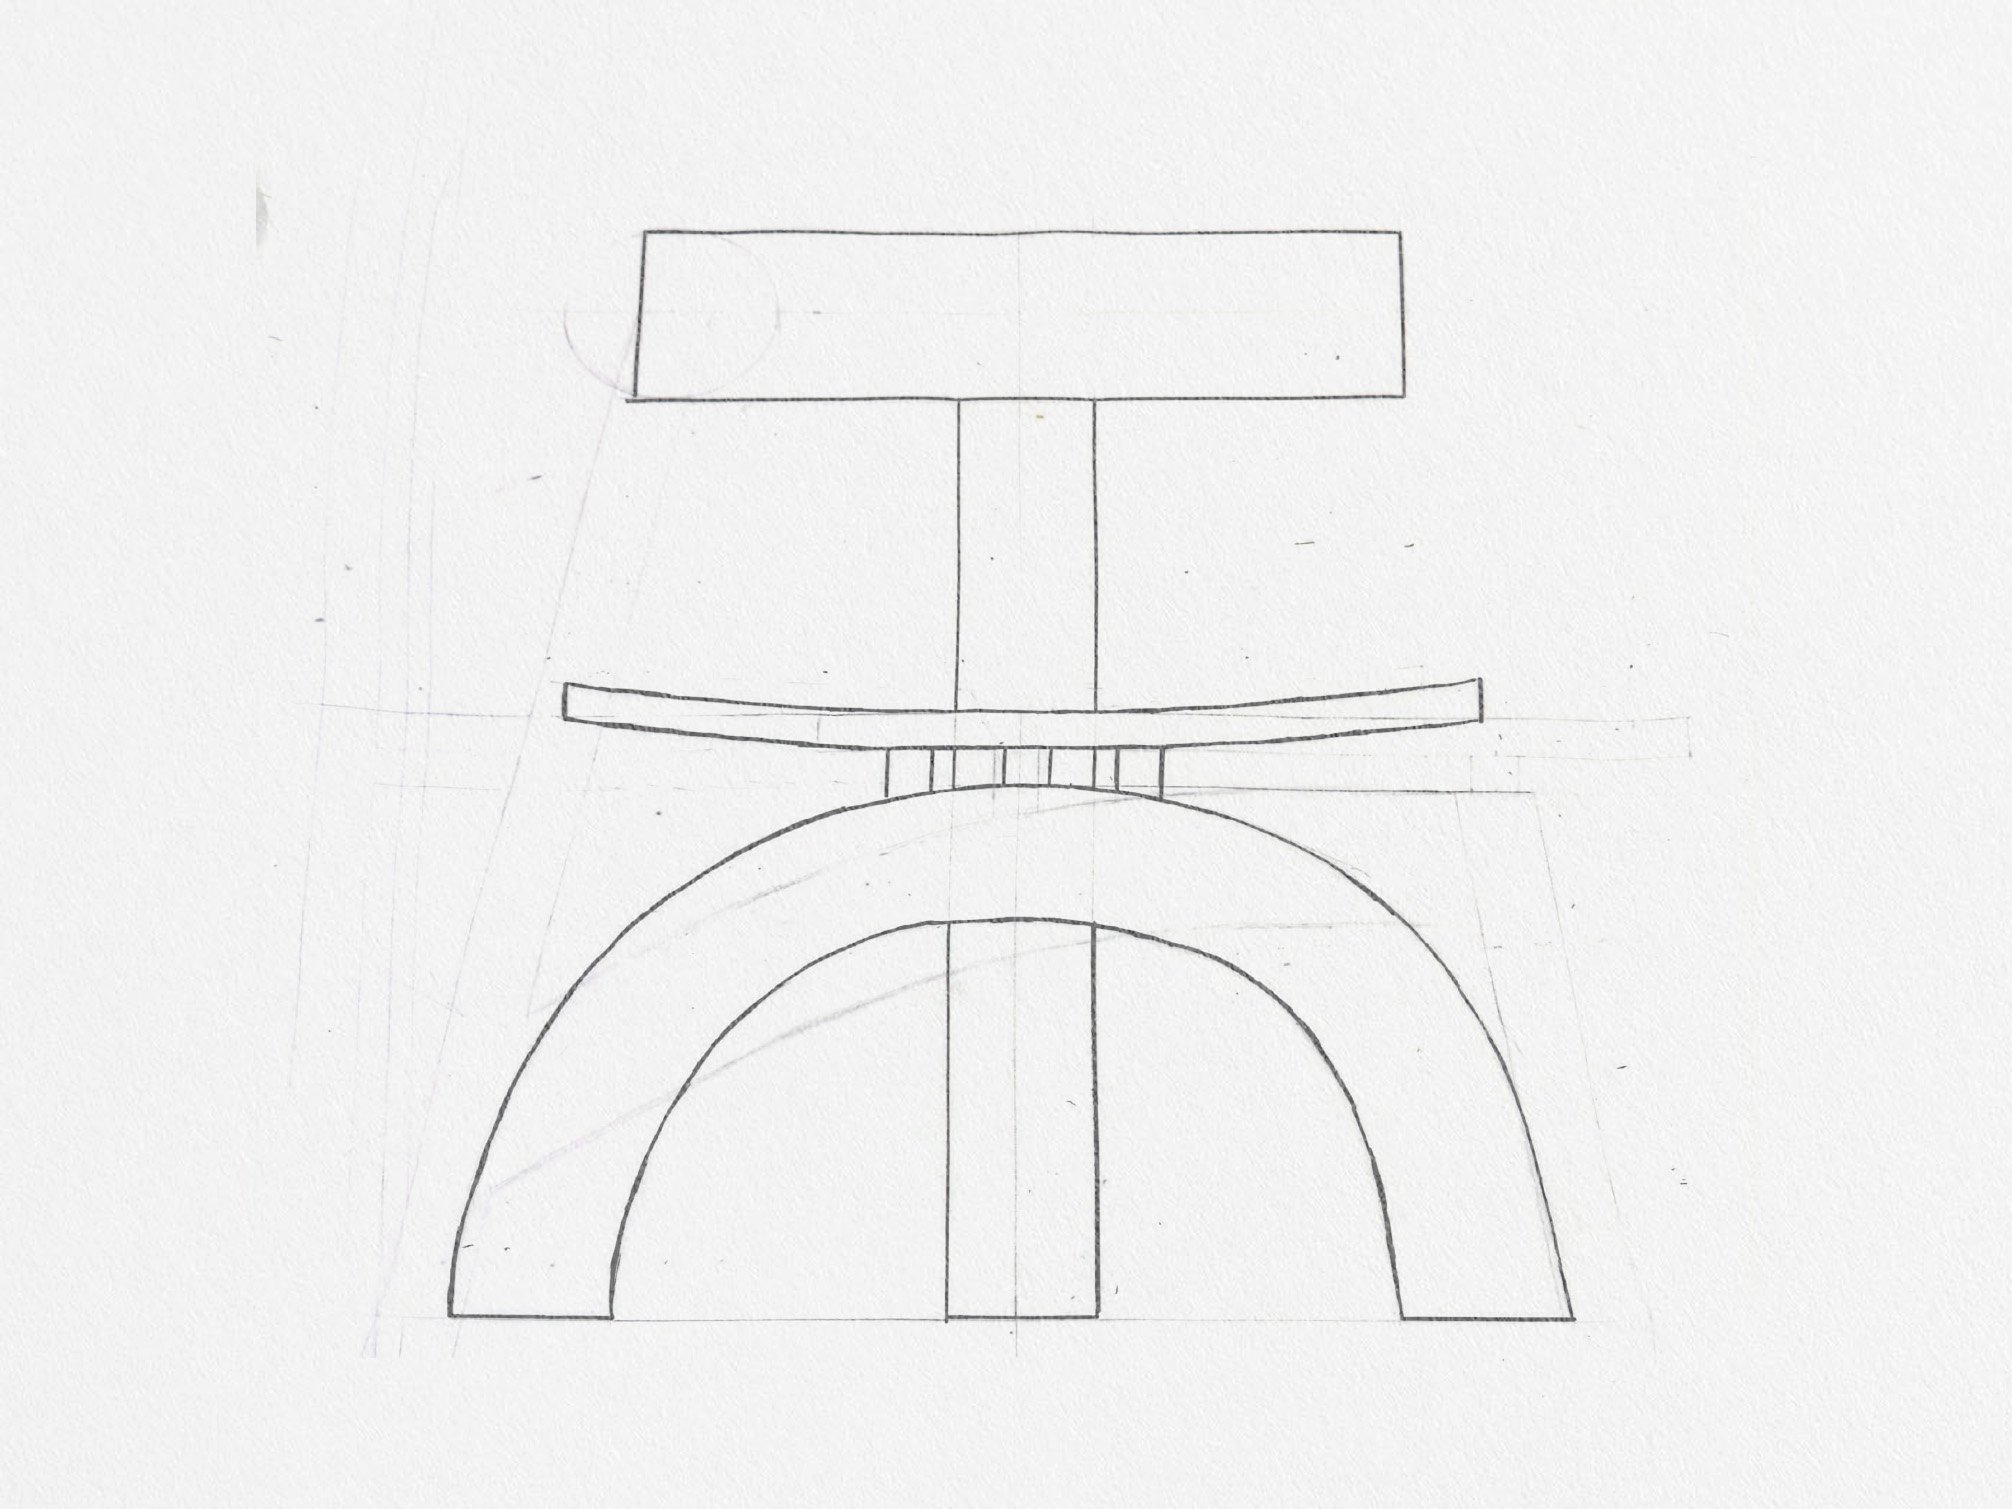
1:1 Scale Drawing
Of all the stages in the making process, ideation turned out to be the most challenging. I knew from the beginning that I wanted the Sori Chair to explore curves, three points of support, and simple geometry. Yet, finding the right composition with such simple elements was trickier than expected. After countless sketches and iterations, things began to fall into place when I shifted my focus to measurements and scale.
Since Sori doesn't follow a conventional chair structure, I had to find my own points of reference. I turned to everyday spaces, using a staircase to explore seat height and measuring the distance from my seat to my upper back to determine the backrest placement. With these measurements in hand, I began drawing at a 1:1 scale. Seeing the forms at their actual size helped me refine their proportions and bring the curves together into a cohesive design.
02 — Prototyping
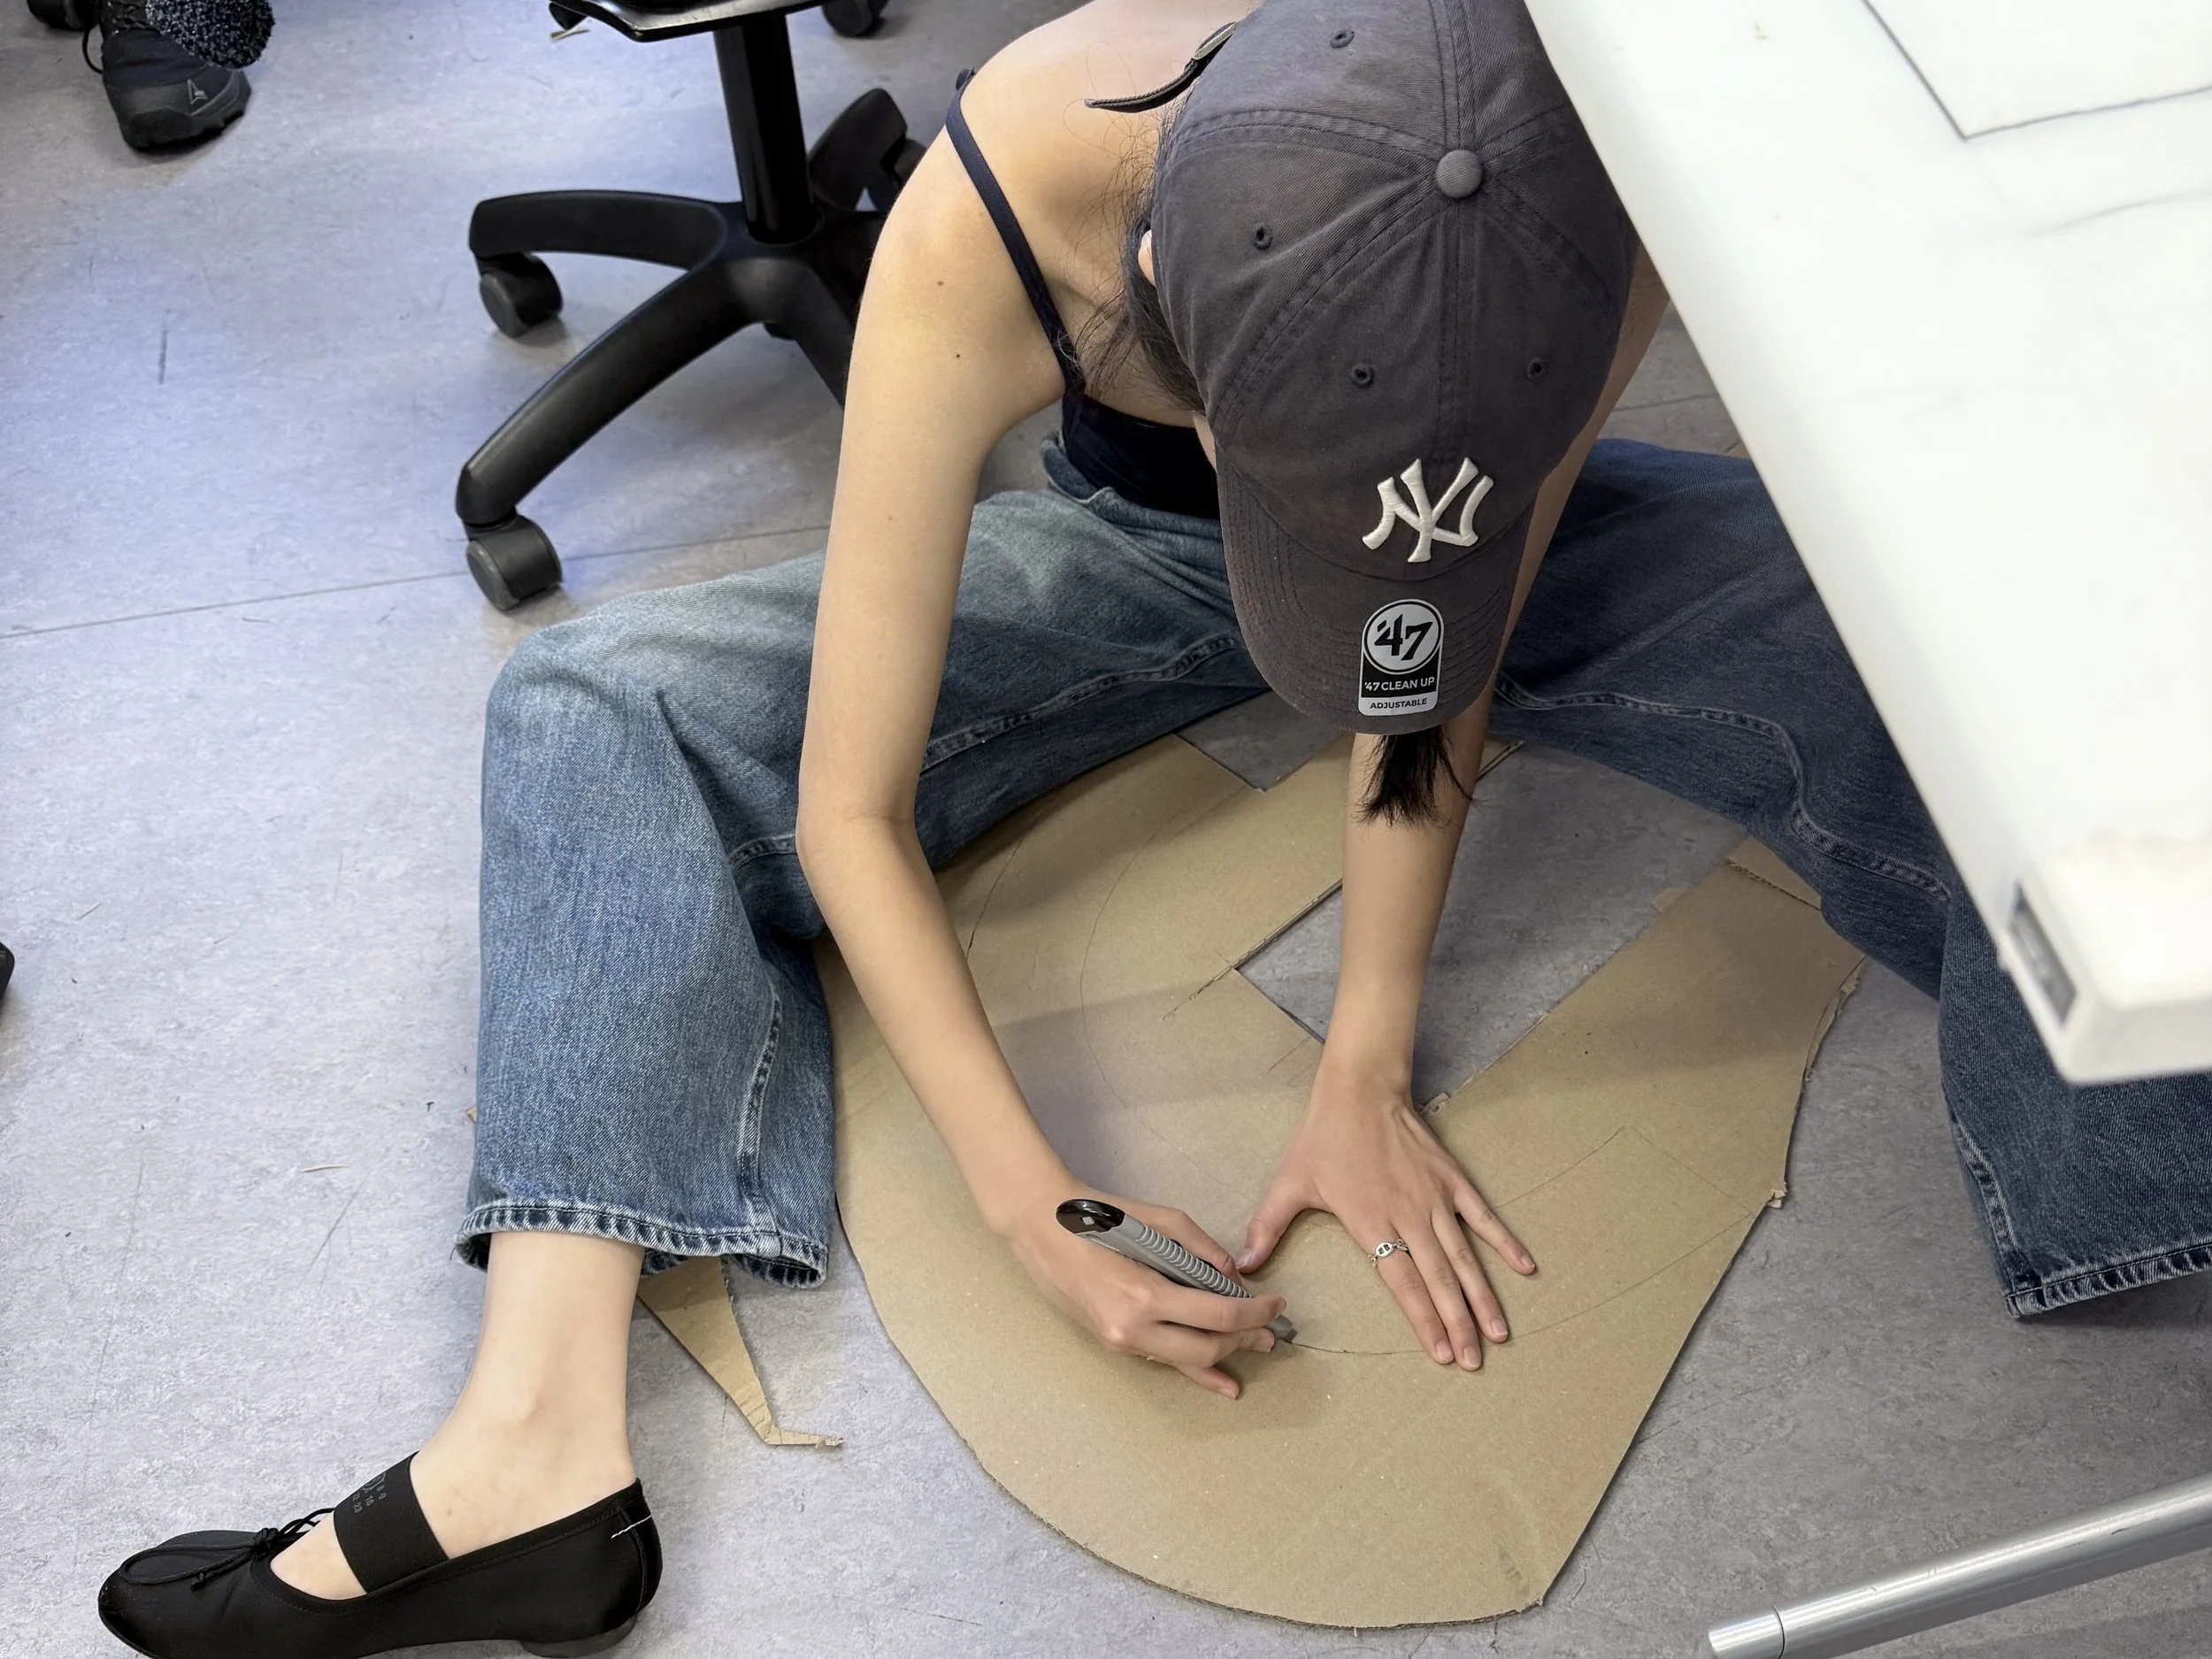
Building Cardboard Model
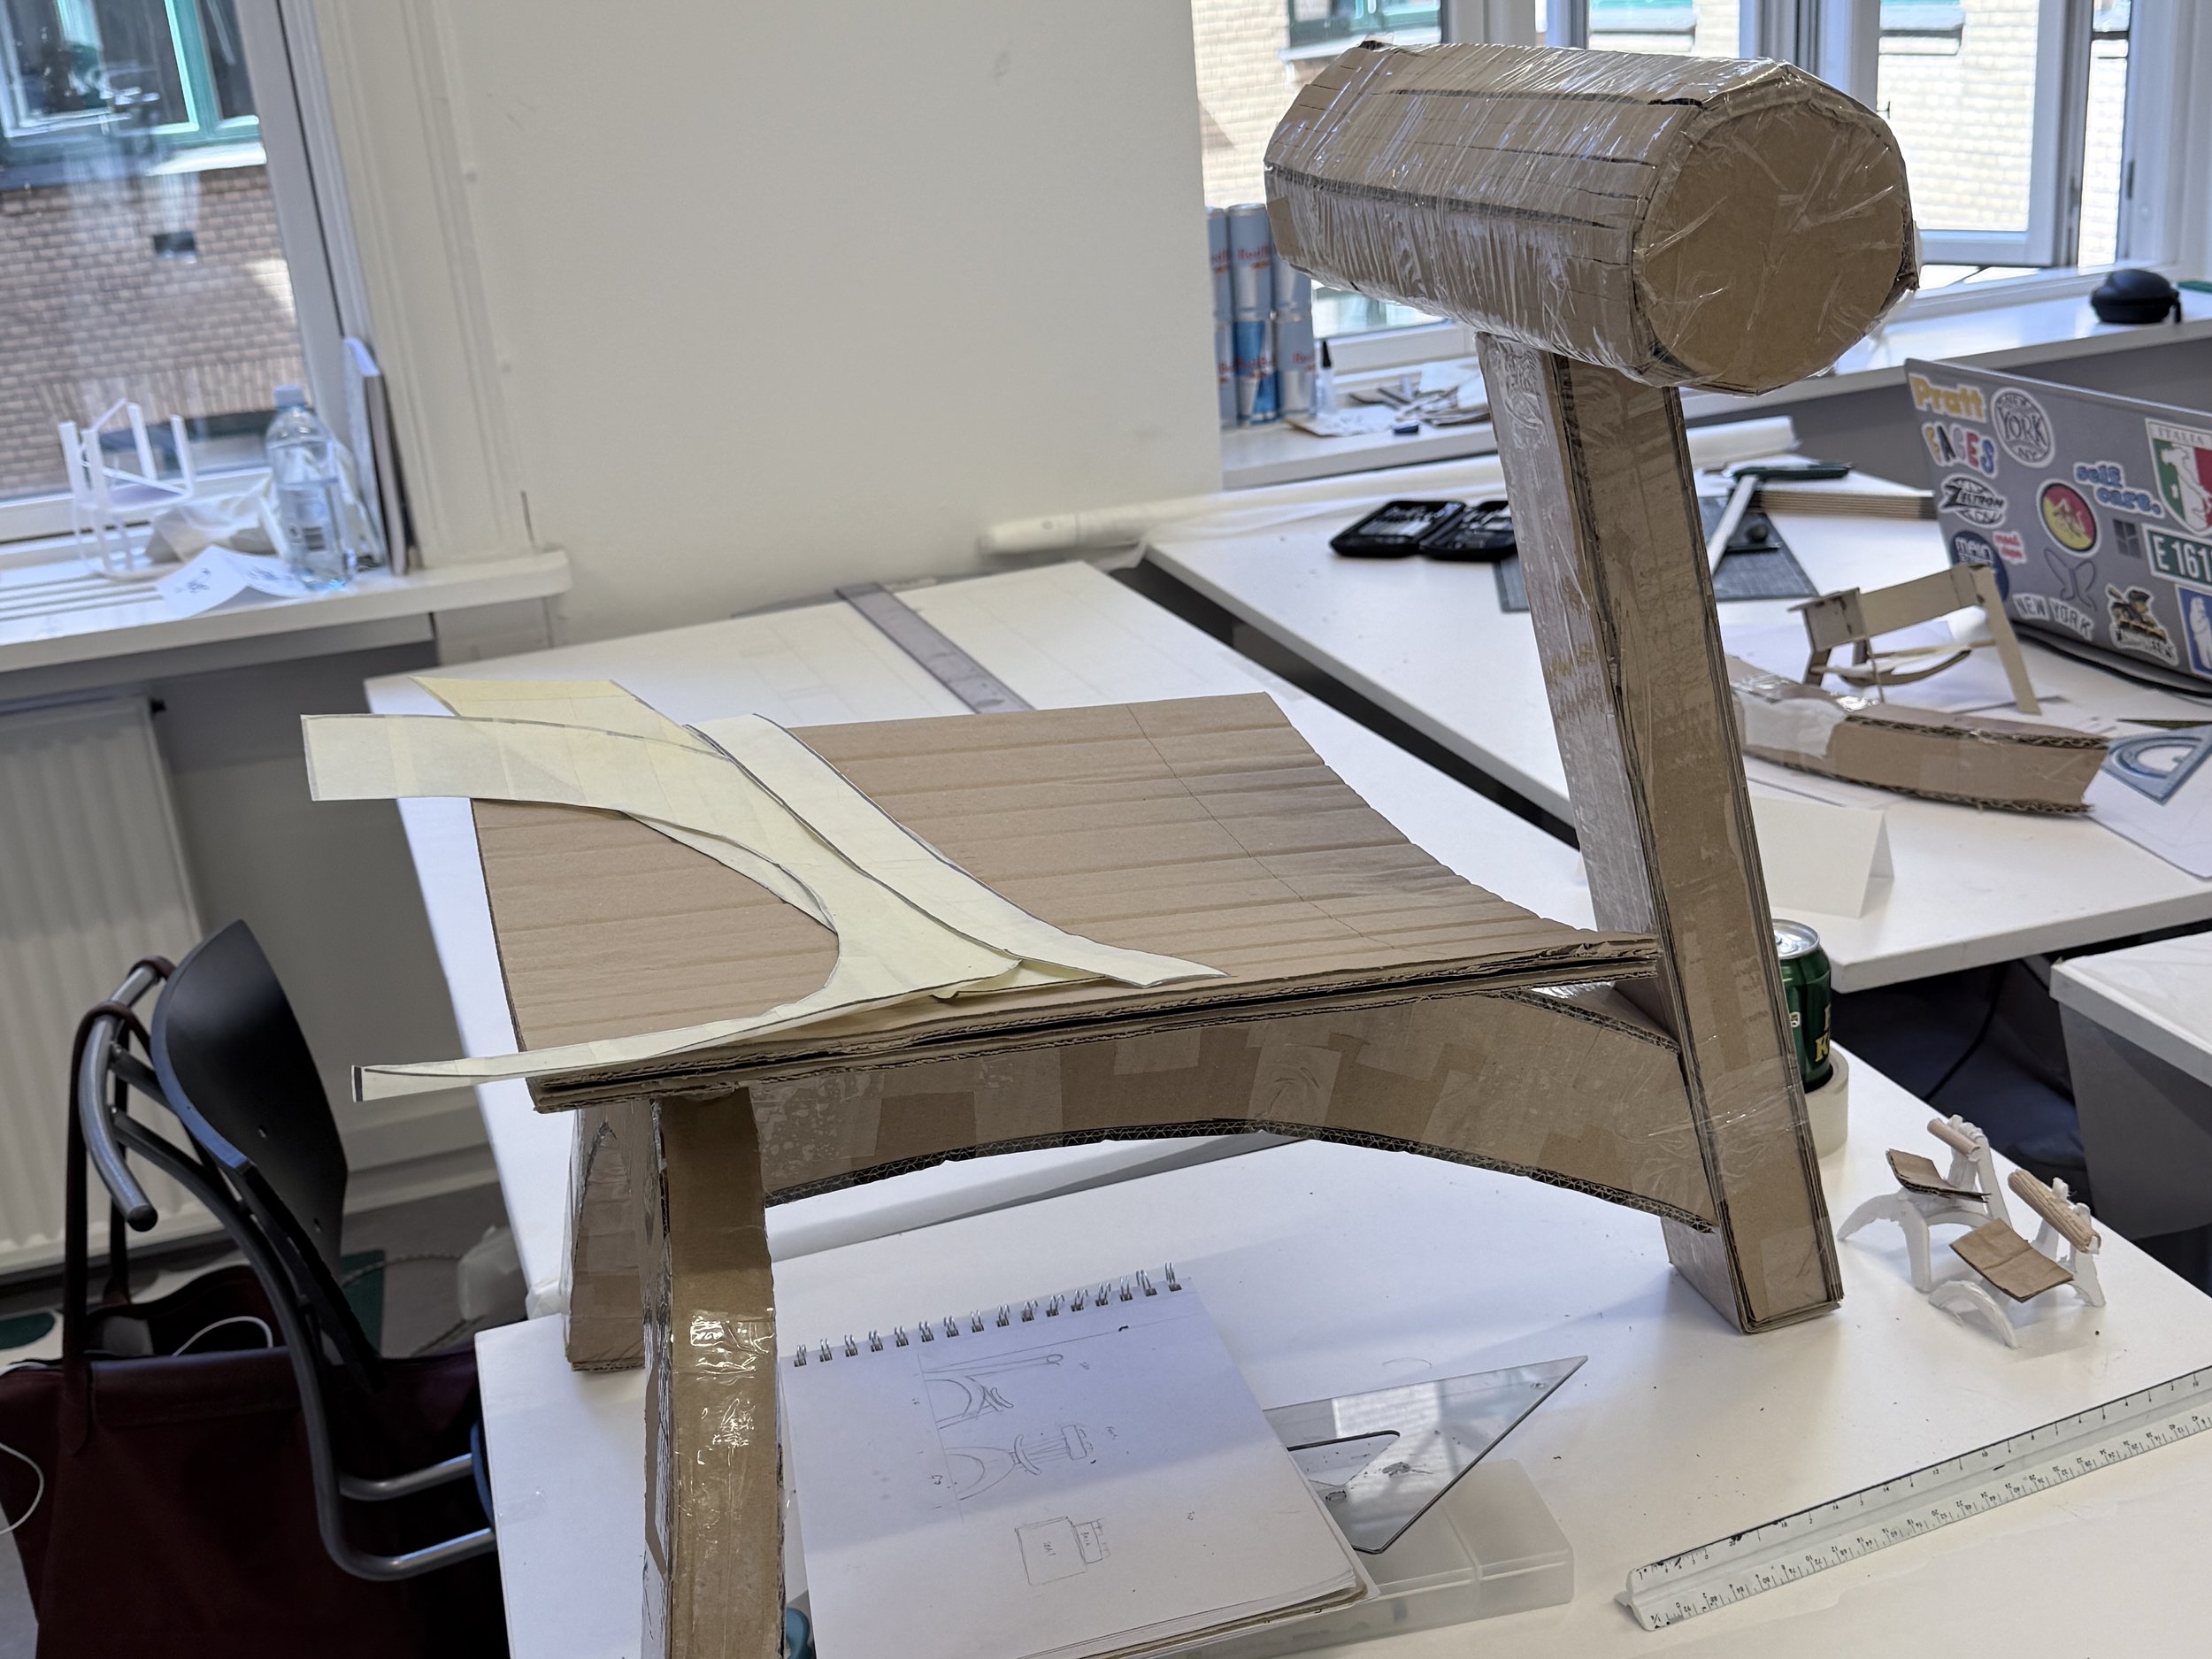
1:1 Cardboard Model
With the overall composition in place, I moved on to building a 1:1 cardboard model to better understand the chair's scale and proportions. Seeing the design at full size revealed something I hadn't quite noticed on paper: the chair felt visually heavy and used more material than necessary.
Without changing the overall height, I reduced the width of each component by 3 cm and the thickness by 0.5 cm. These small changes helped me find a better balance between the proportions, giving the chair a lighter and simpler form that felt more in line with the Scandinavian design principles I had been exploring.
03 — Technical Development
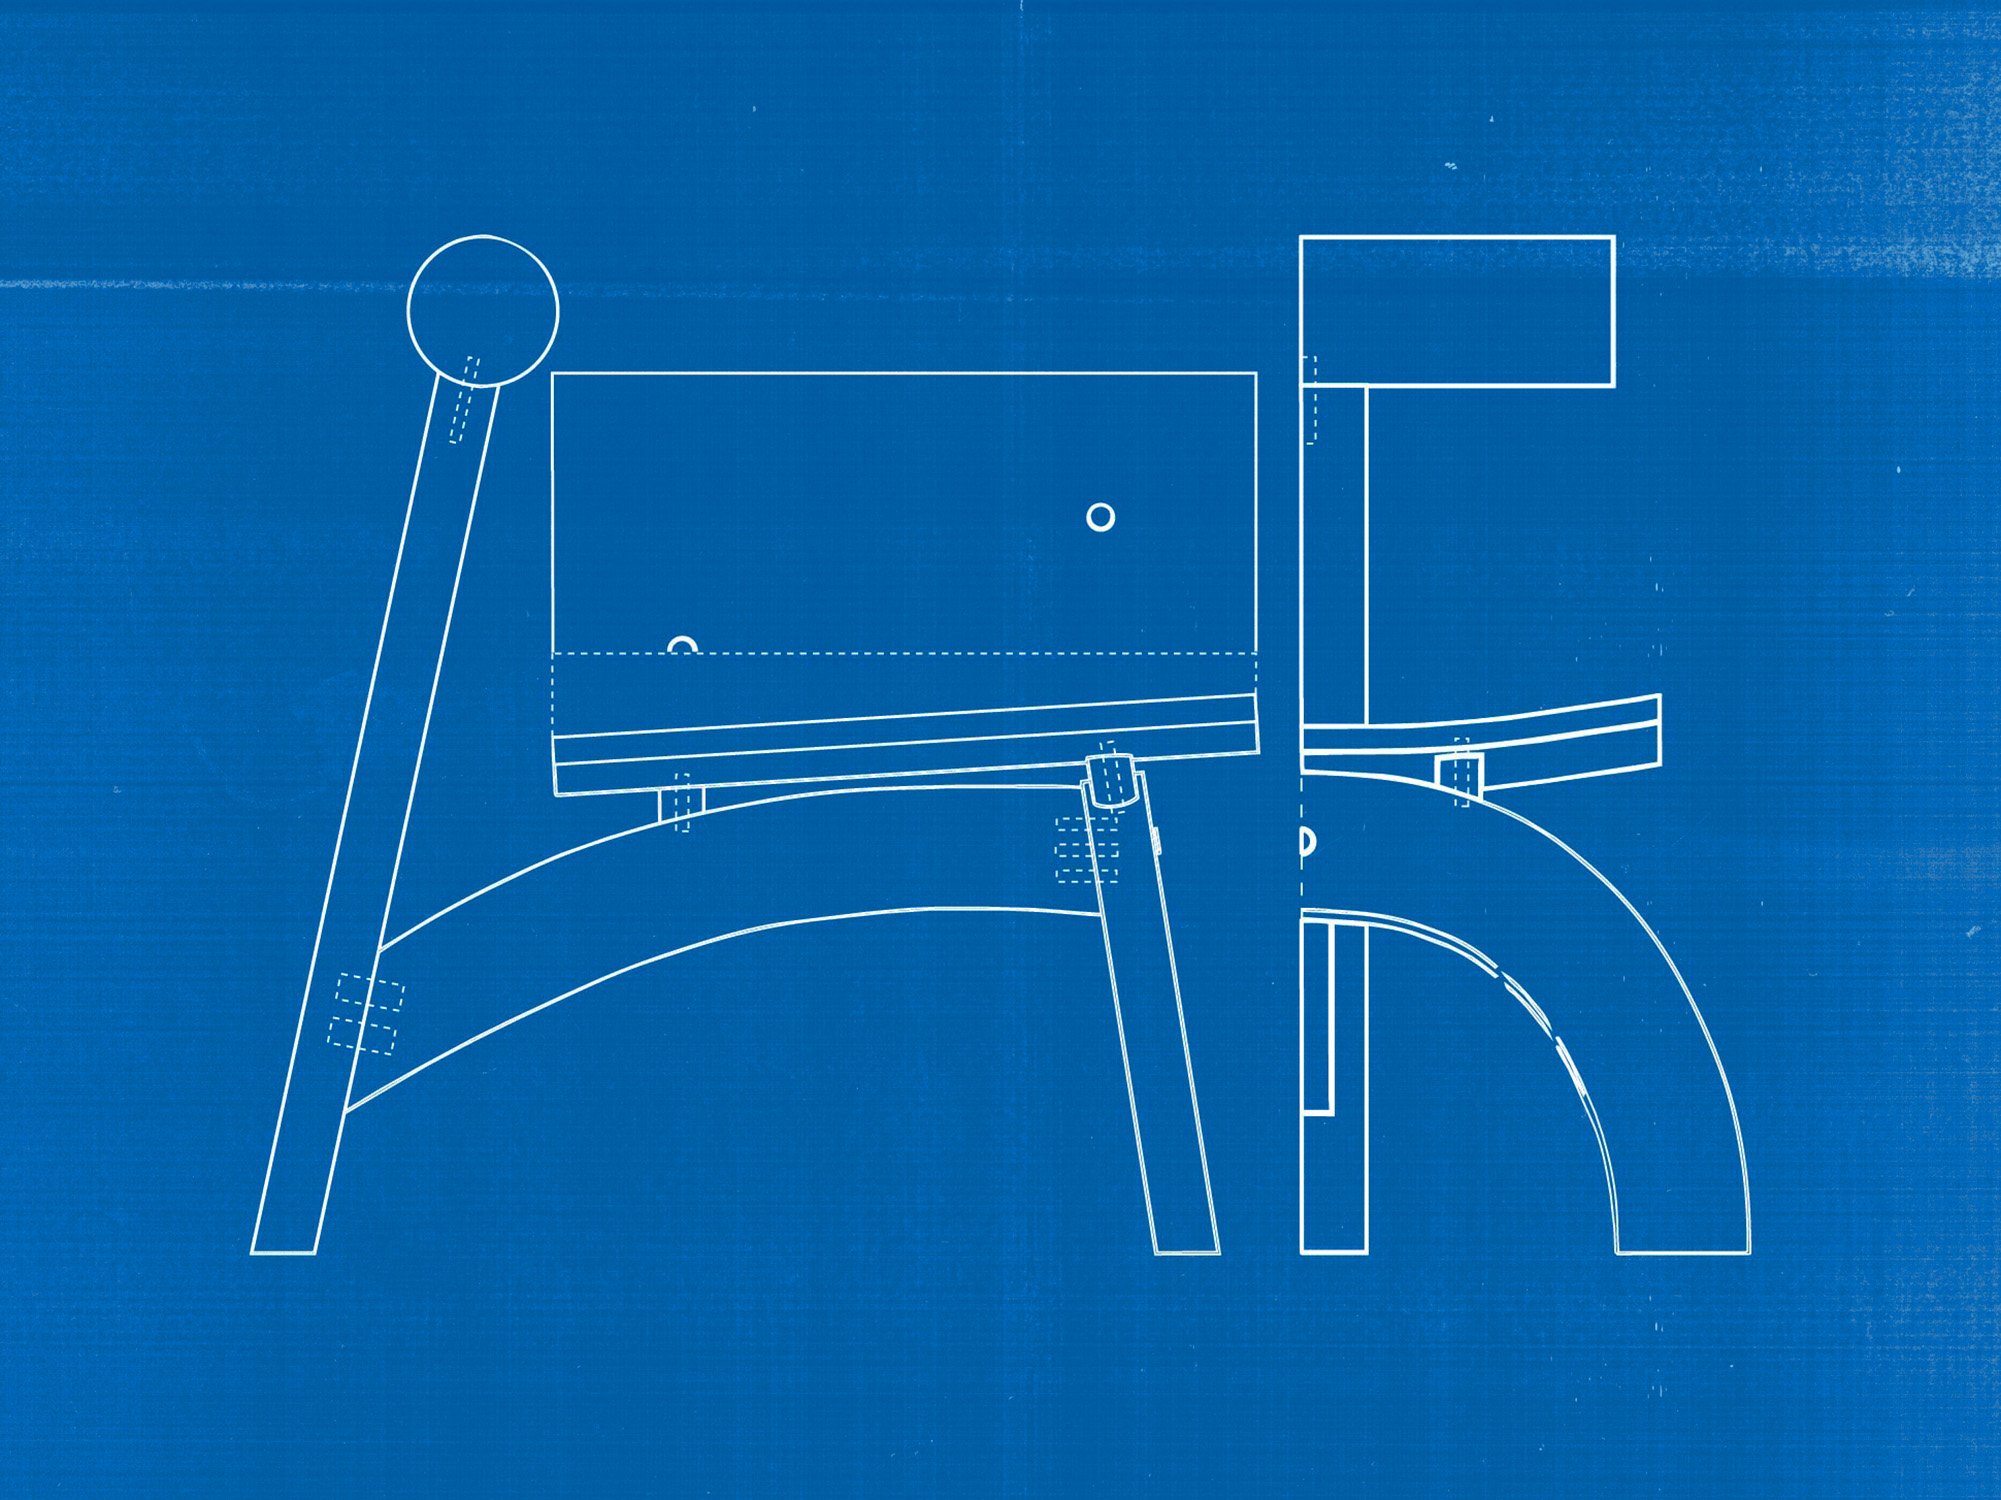
Technical Drawing
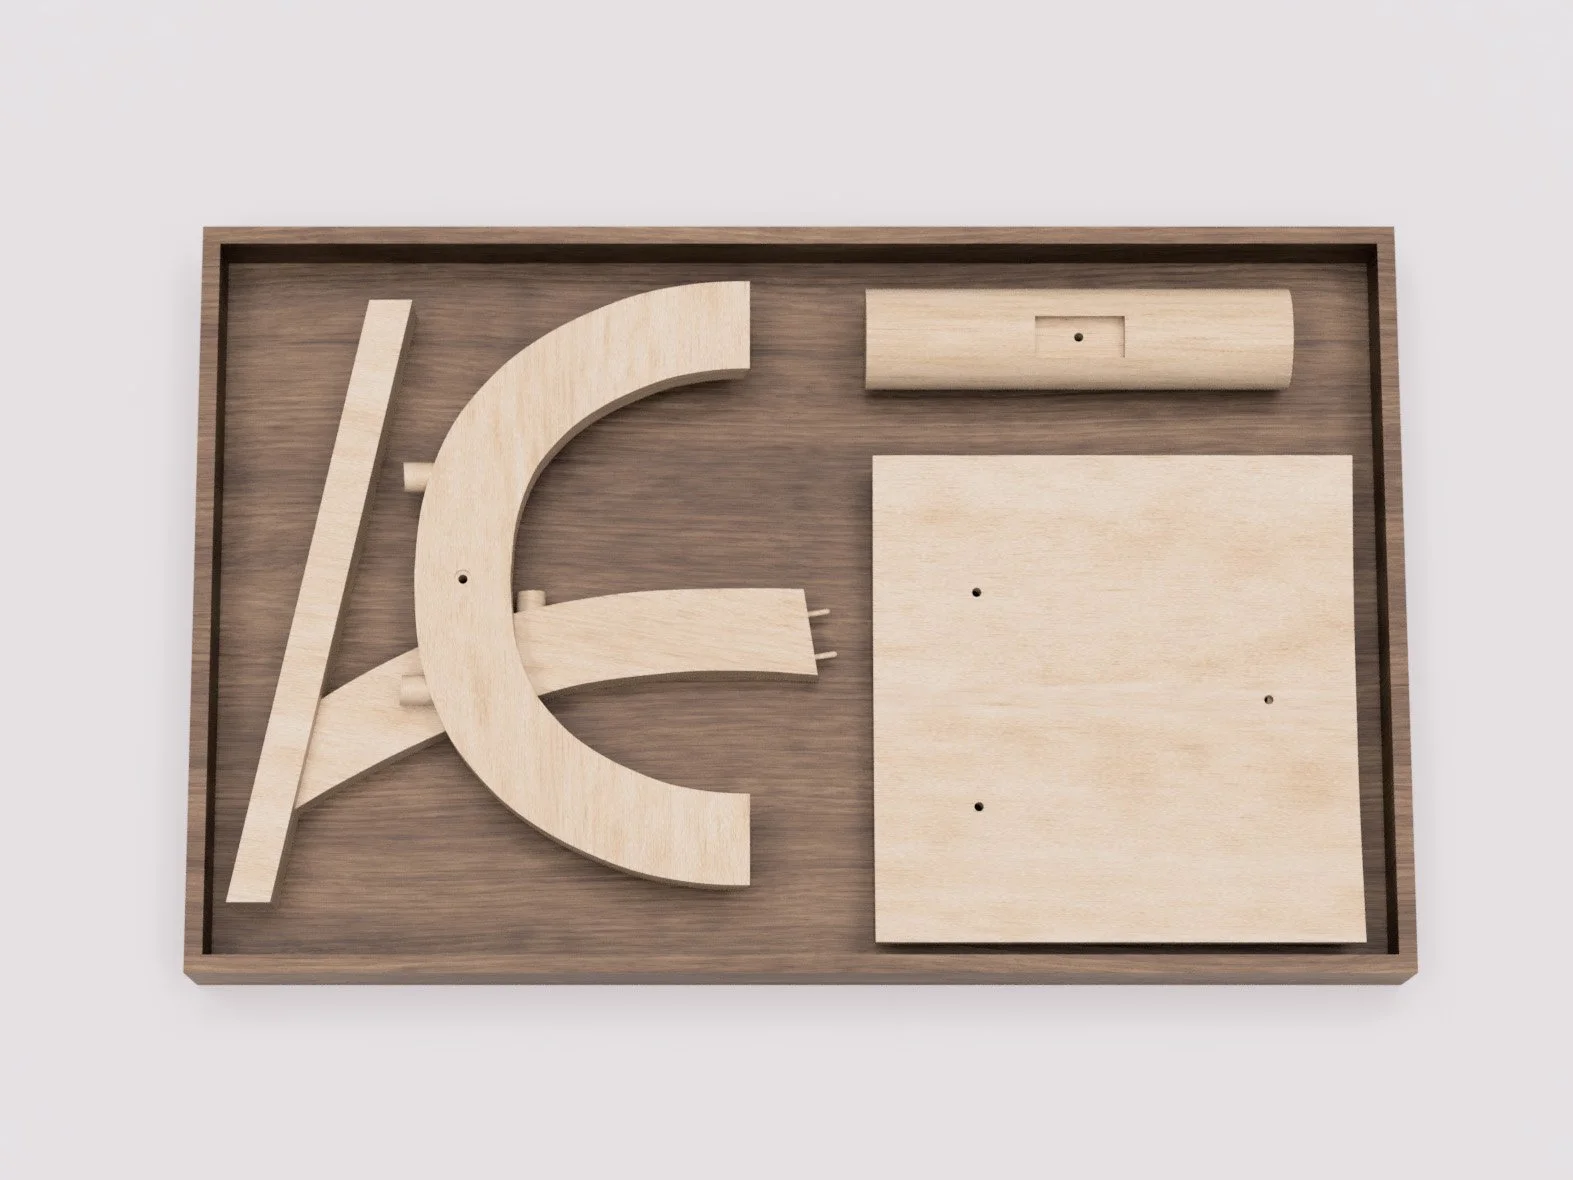
With the design and dimensions finalized, I moved on to creating the technical drawings. Since the entire process was analog, these hand-drawn plans would be my only reference in the woodshop. I also worked closely with our technician to figure out the most suitable joinery for Sori.
With flat-pack shipping in mind, I divided the chair into four main components: the front leg, back leg + stretcher, seat, and backrest. The entire chair comes together with just five screws, keeping the construction simple and easy to assemble.
With the technical drawings completed, it was finally time to bring Sori into the woodshop. Over the next two weeks, we spent six hours a day cutting, gluing, and sanding. This turned out to be my favorite part of the entire making process. Since my chair has so many curves, there was a lot of sanding involved. It was a long and repetitive process, but watching each piece slowly take shape and come together into a chair was one of the most rewarding parts of the experience.
Here's the behind-the-scenes look at how Sori came to life in the woodshop.
04 — In Woodshop
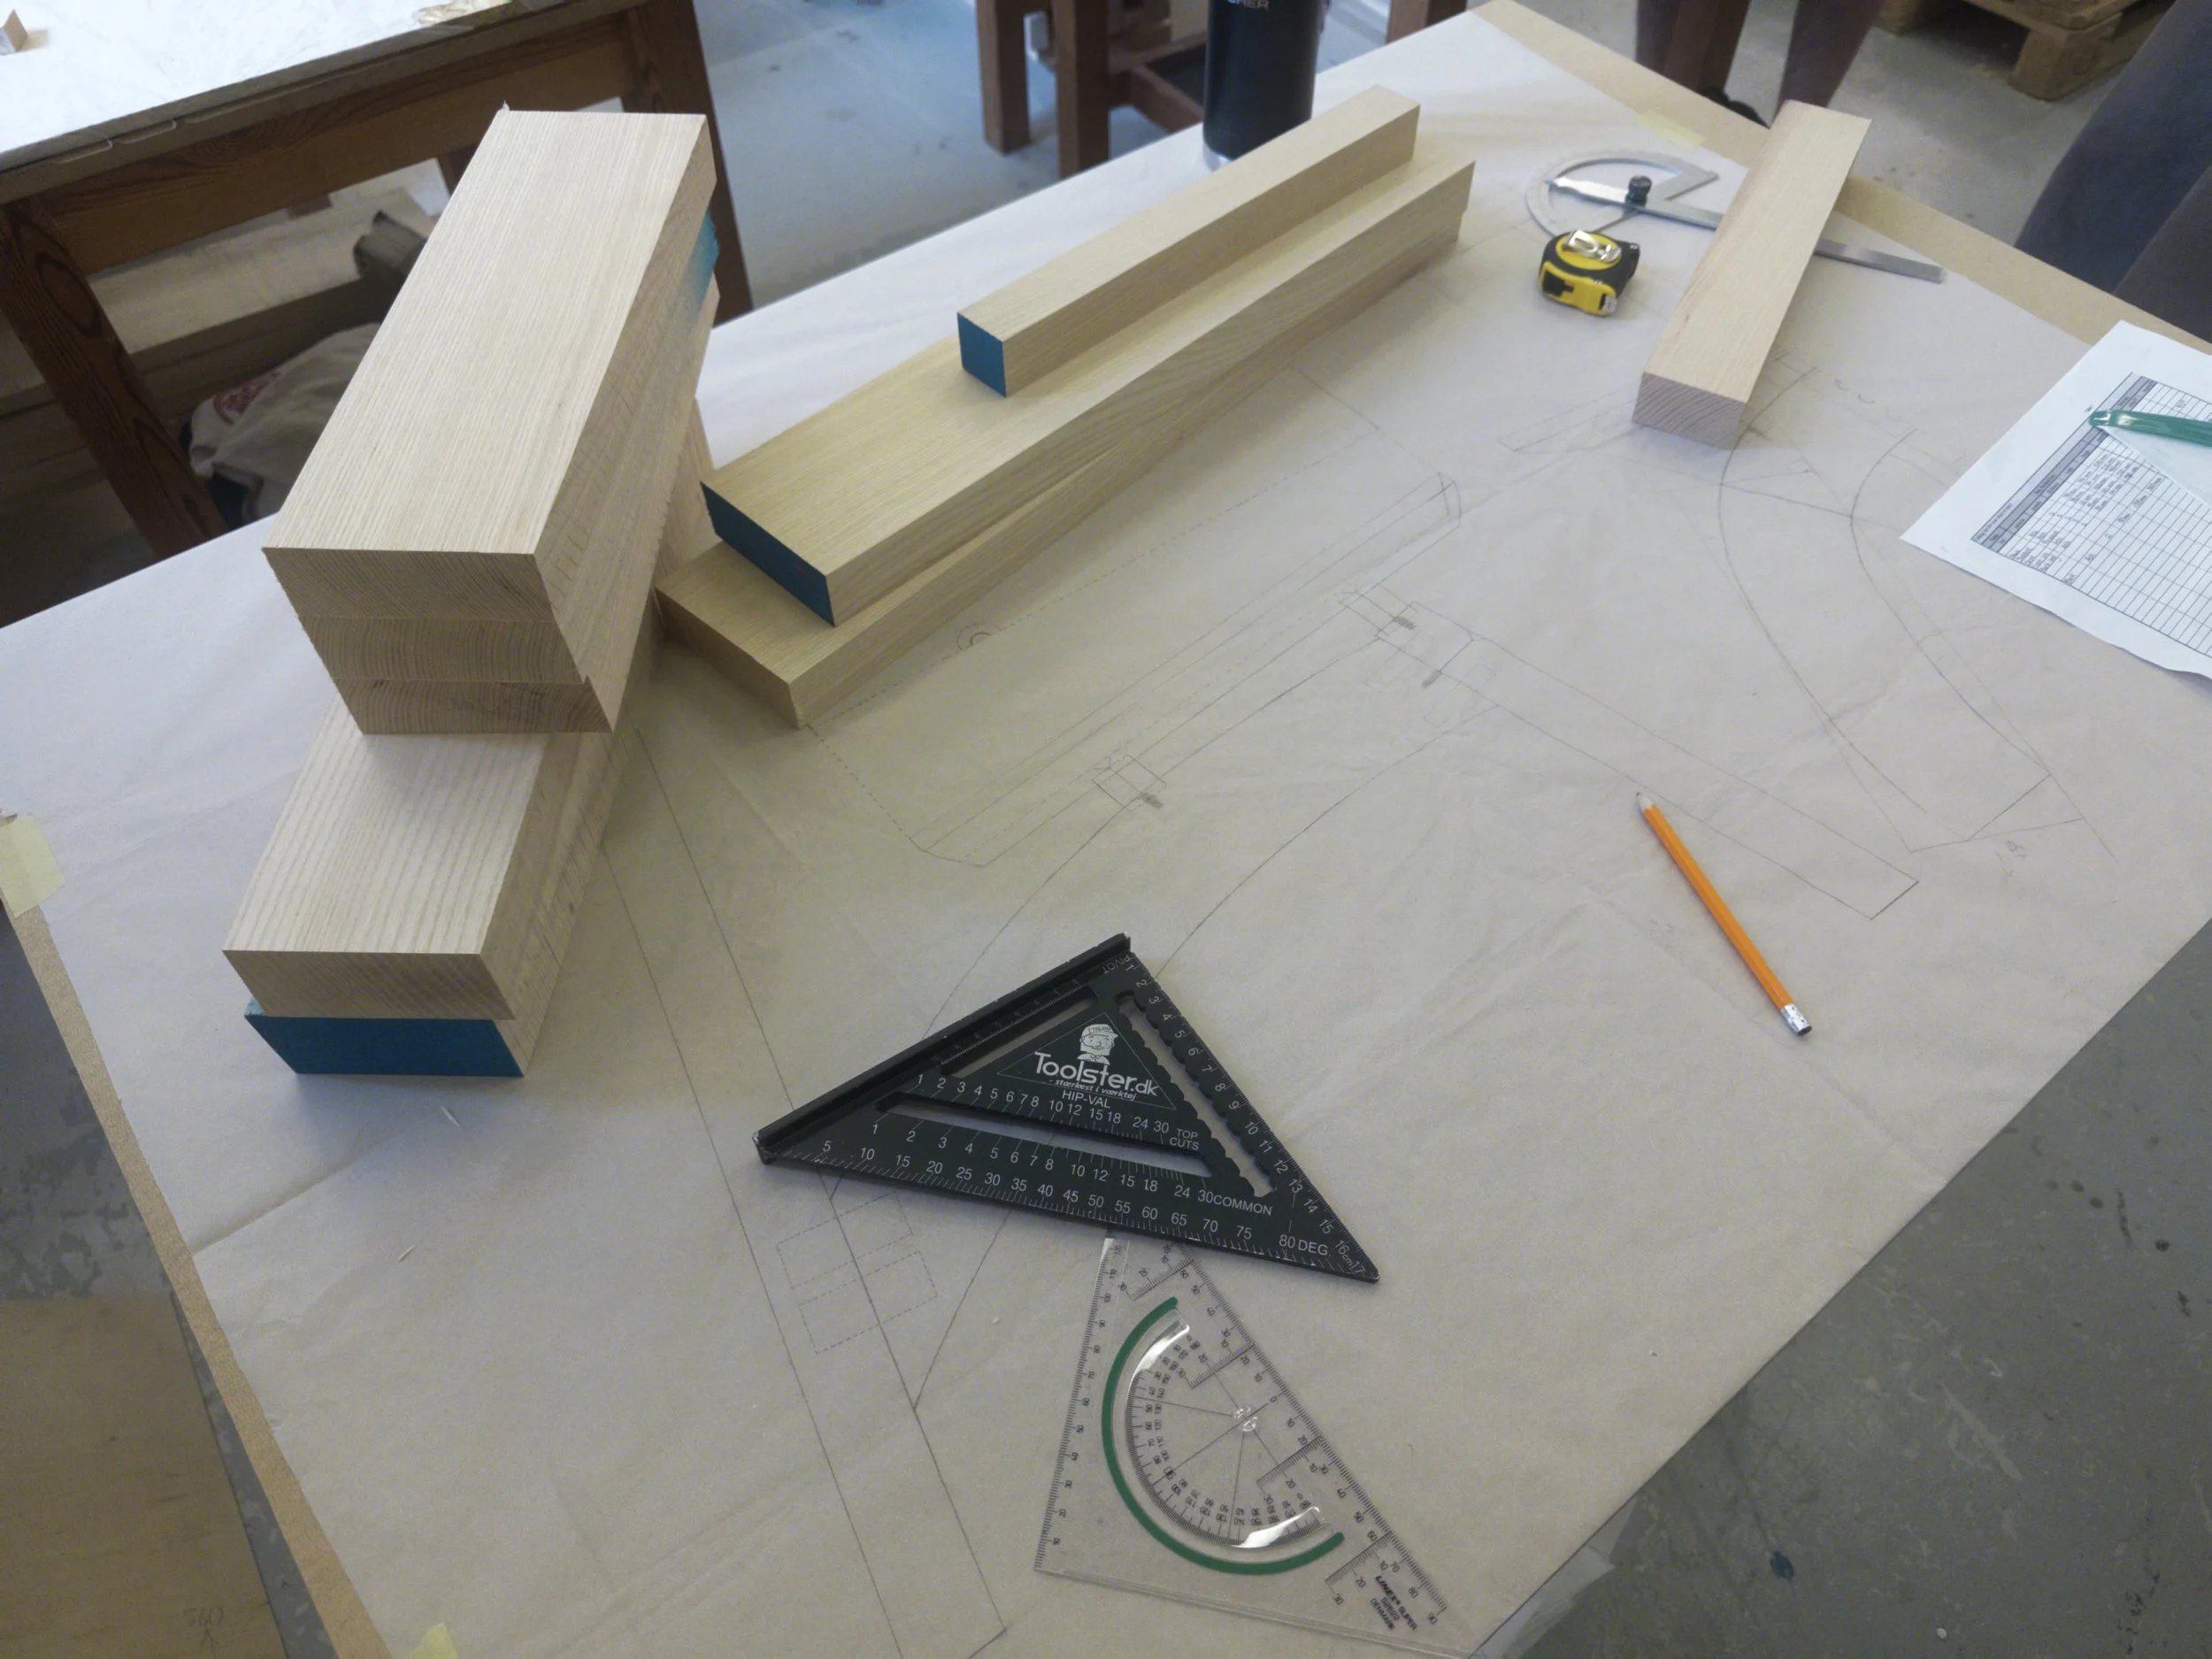
Cutting Wood to Length
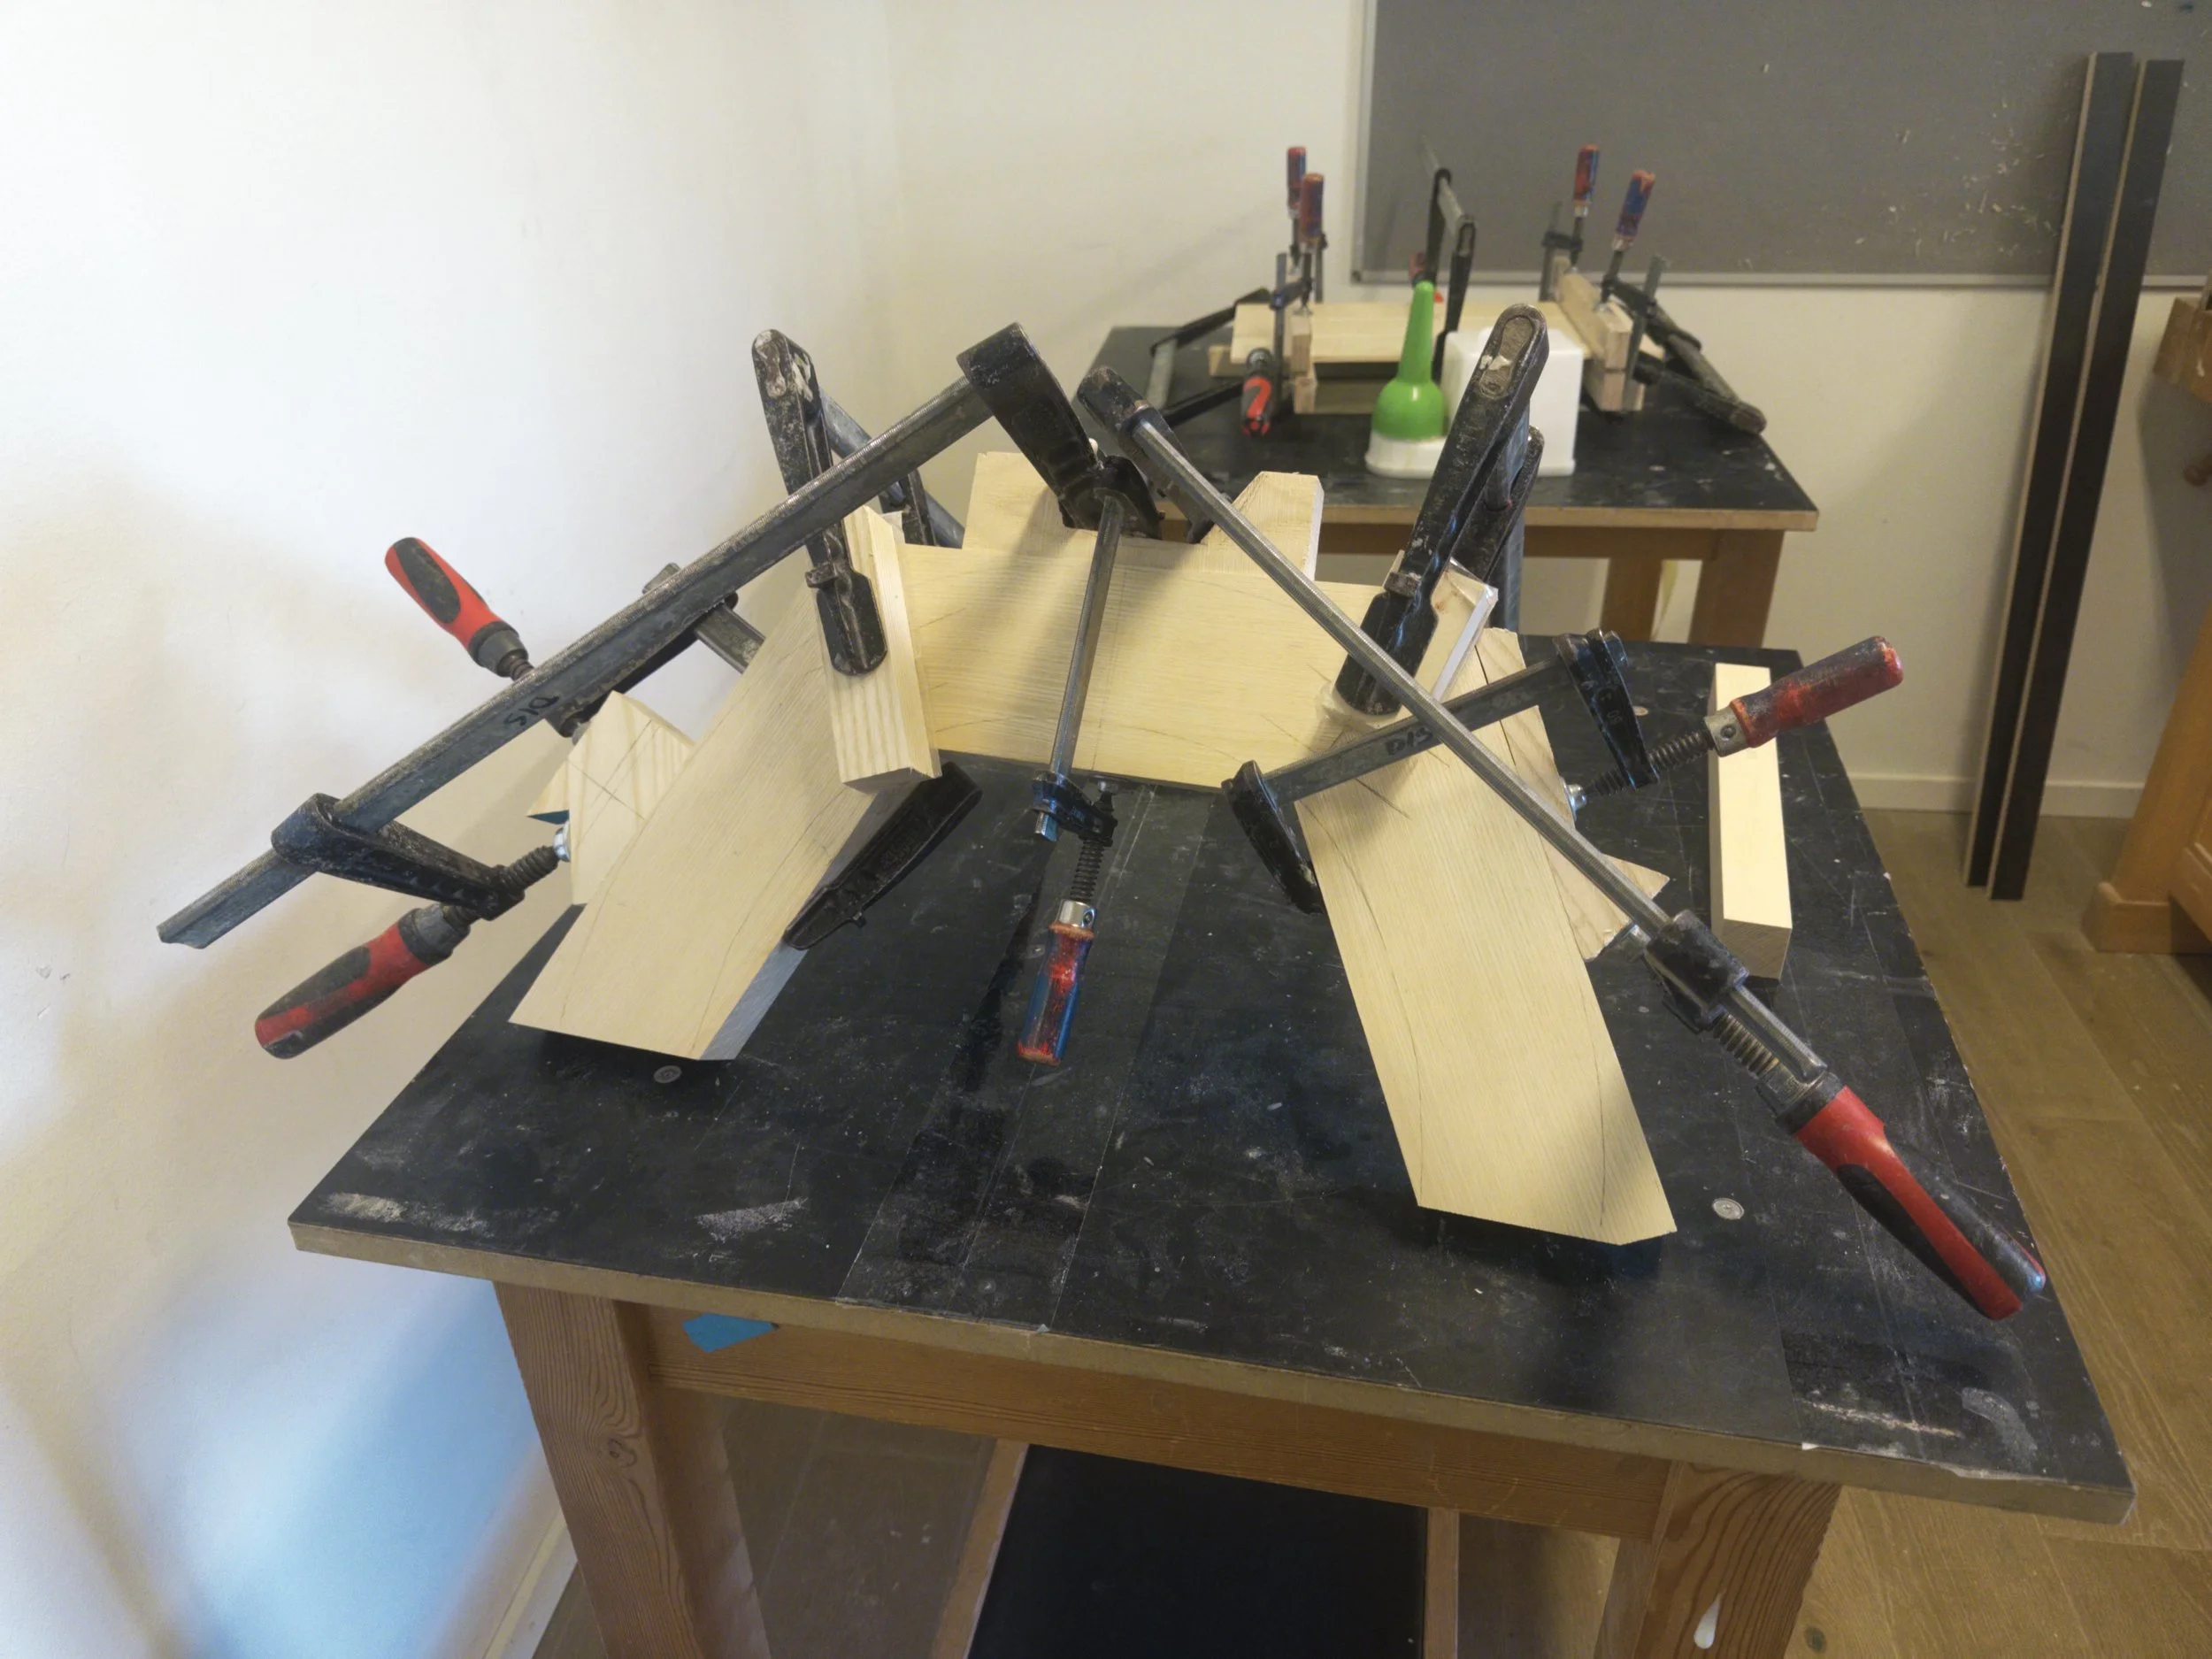
Gluing Blocks into Form
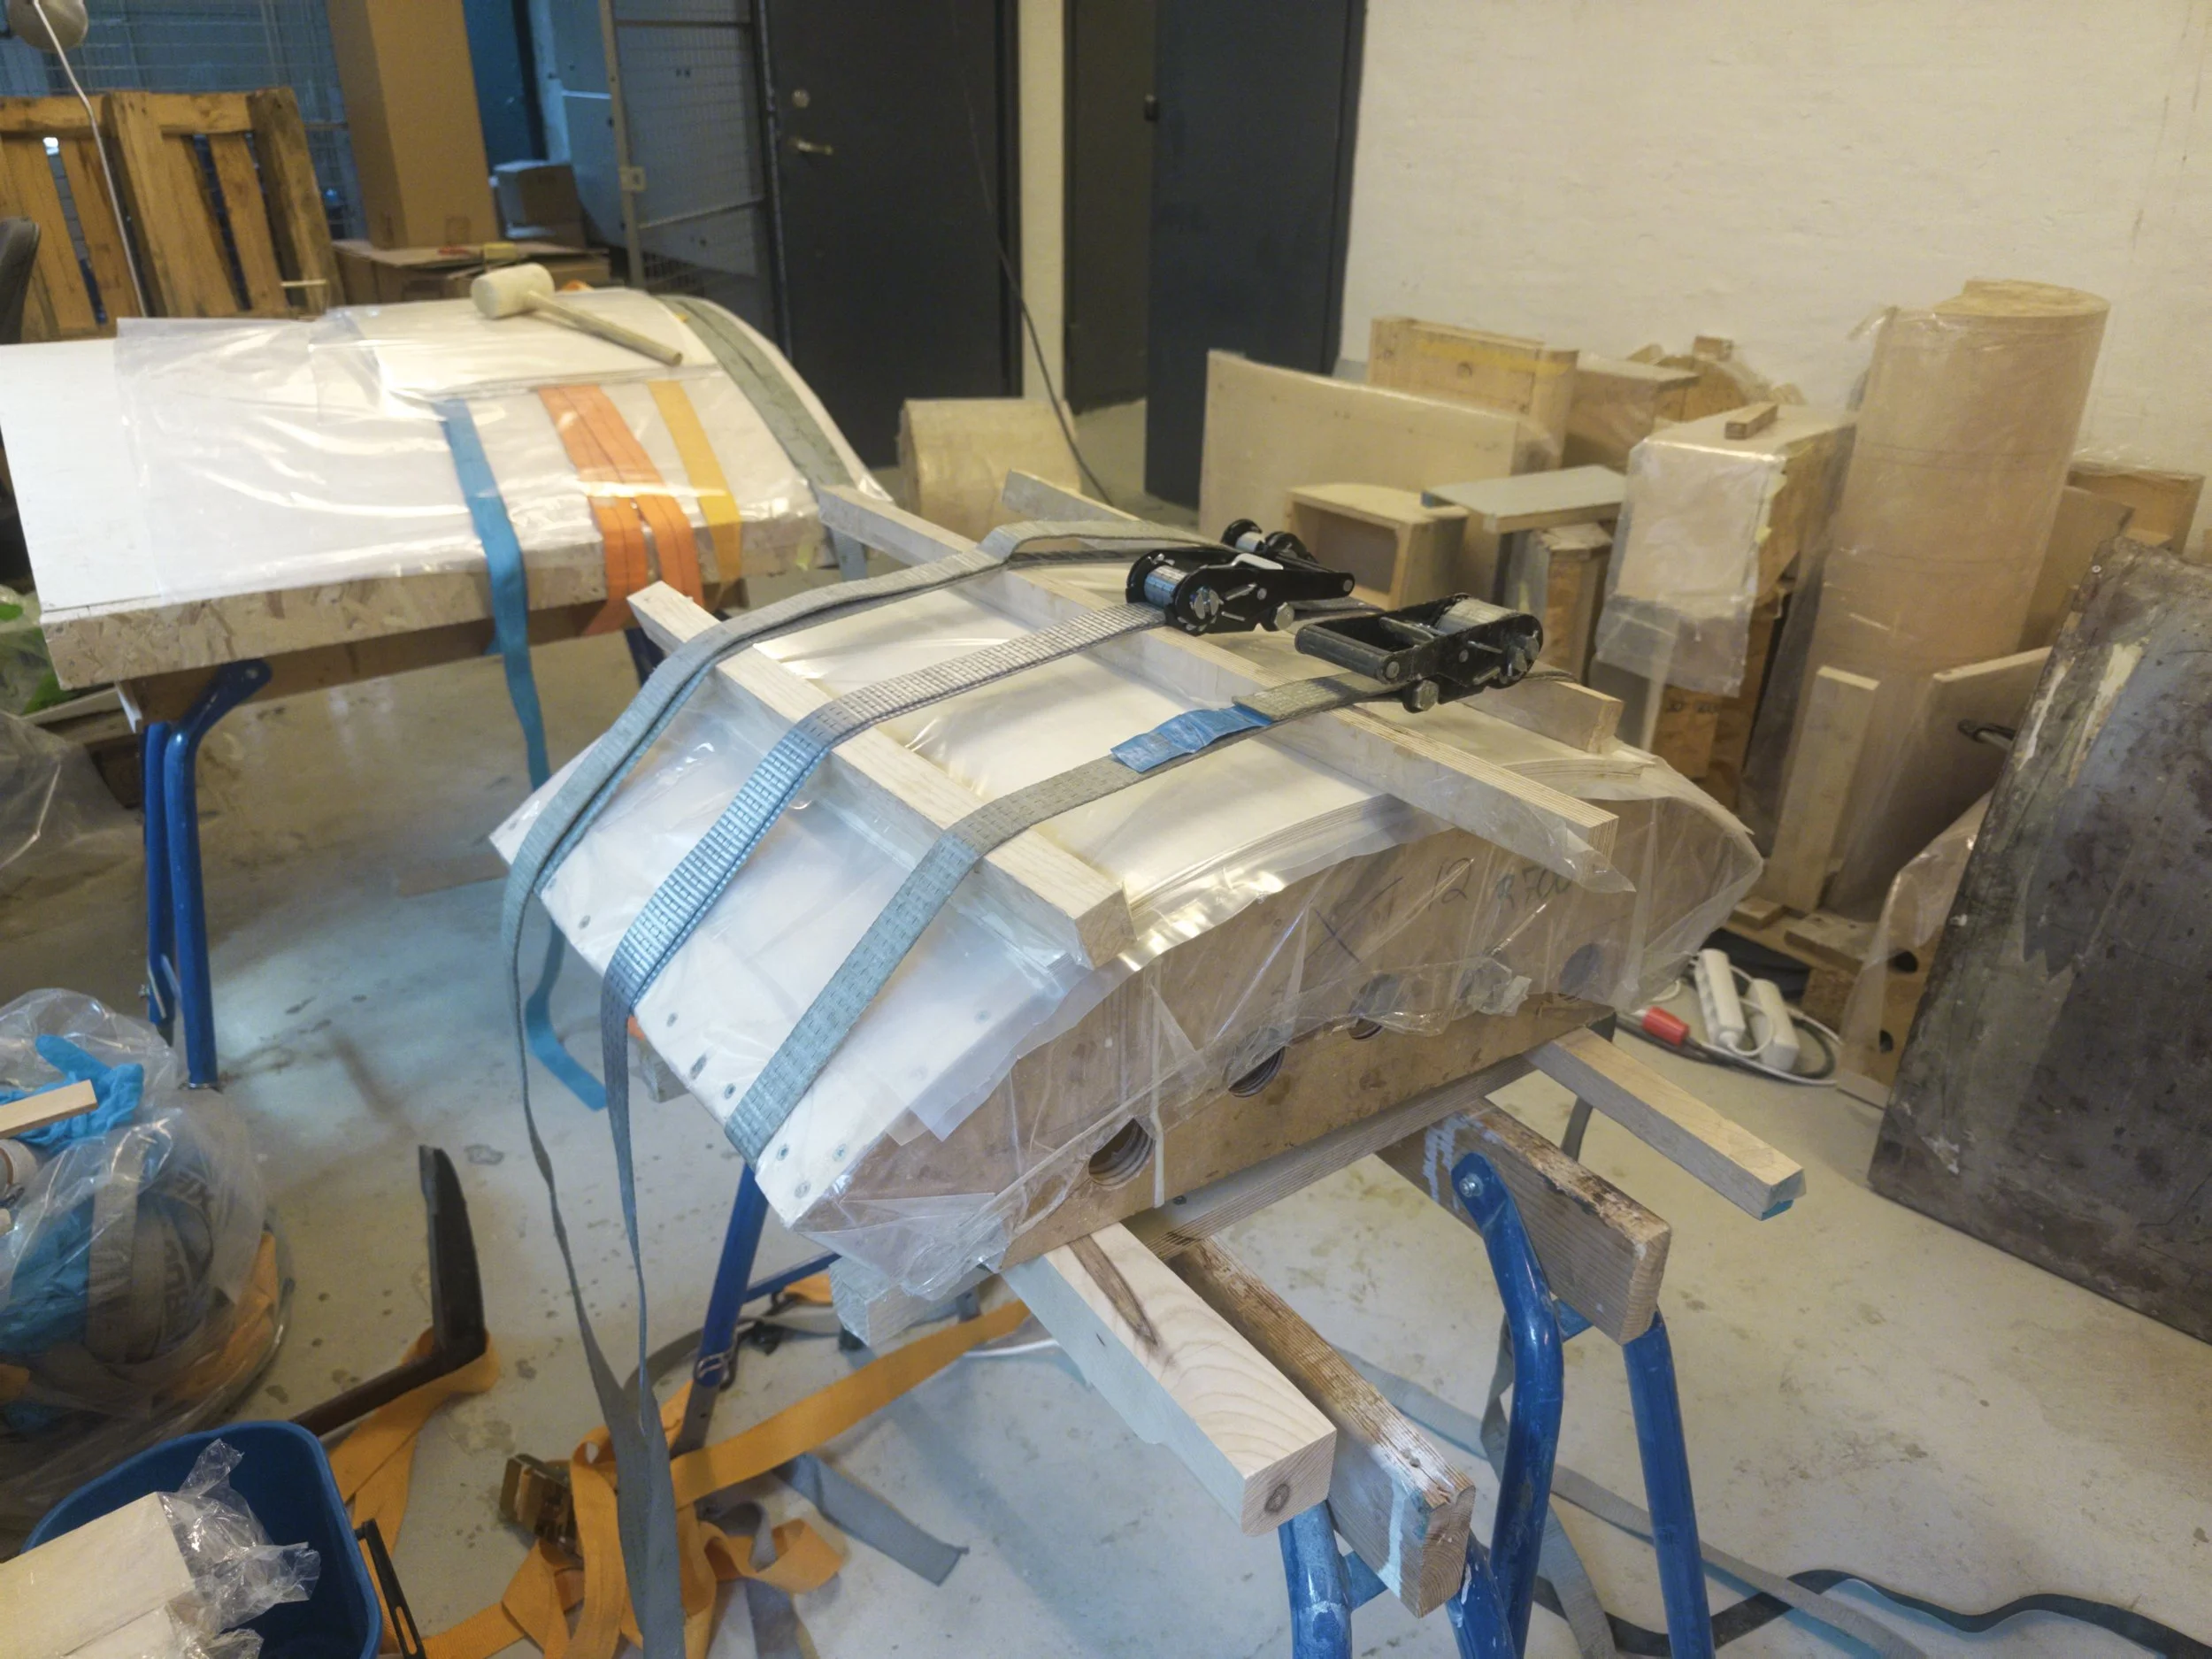
Laminating the Plywood Seat
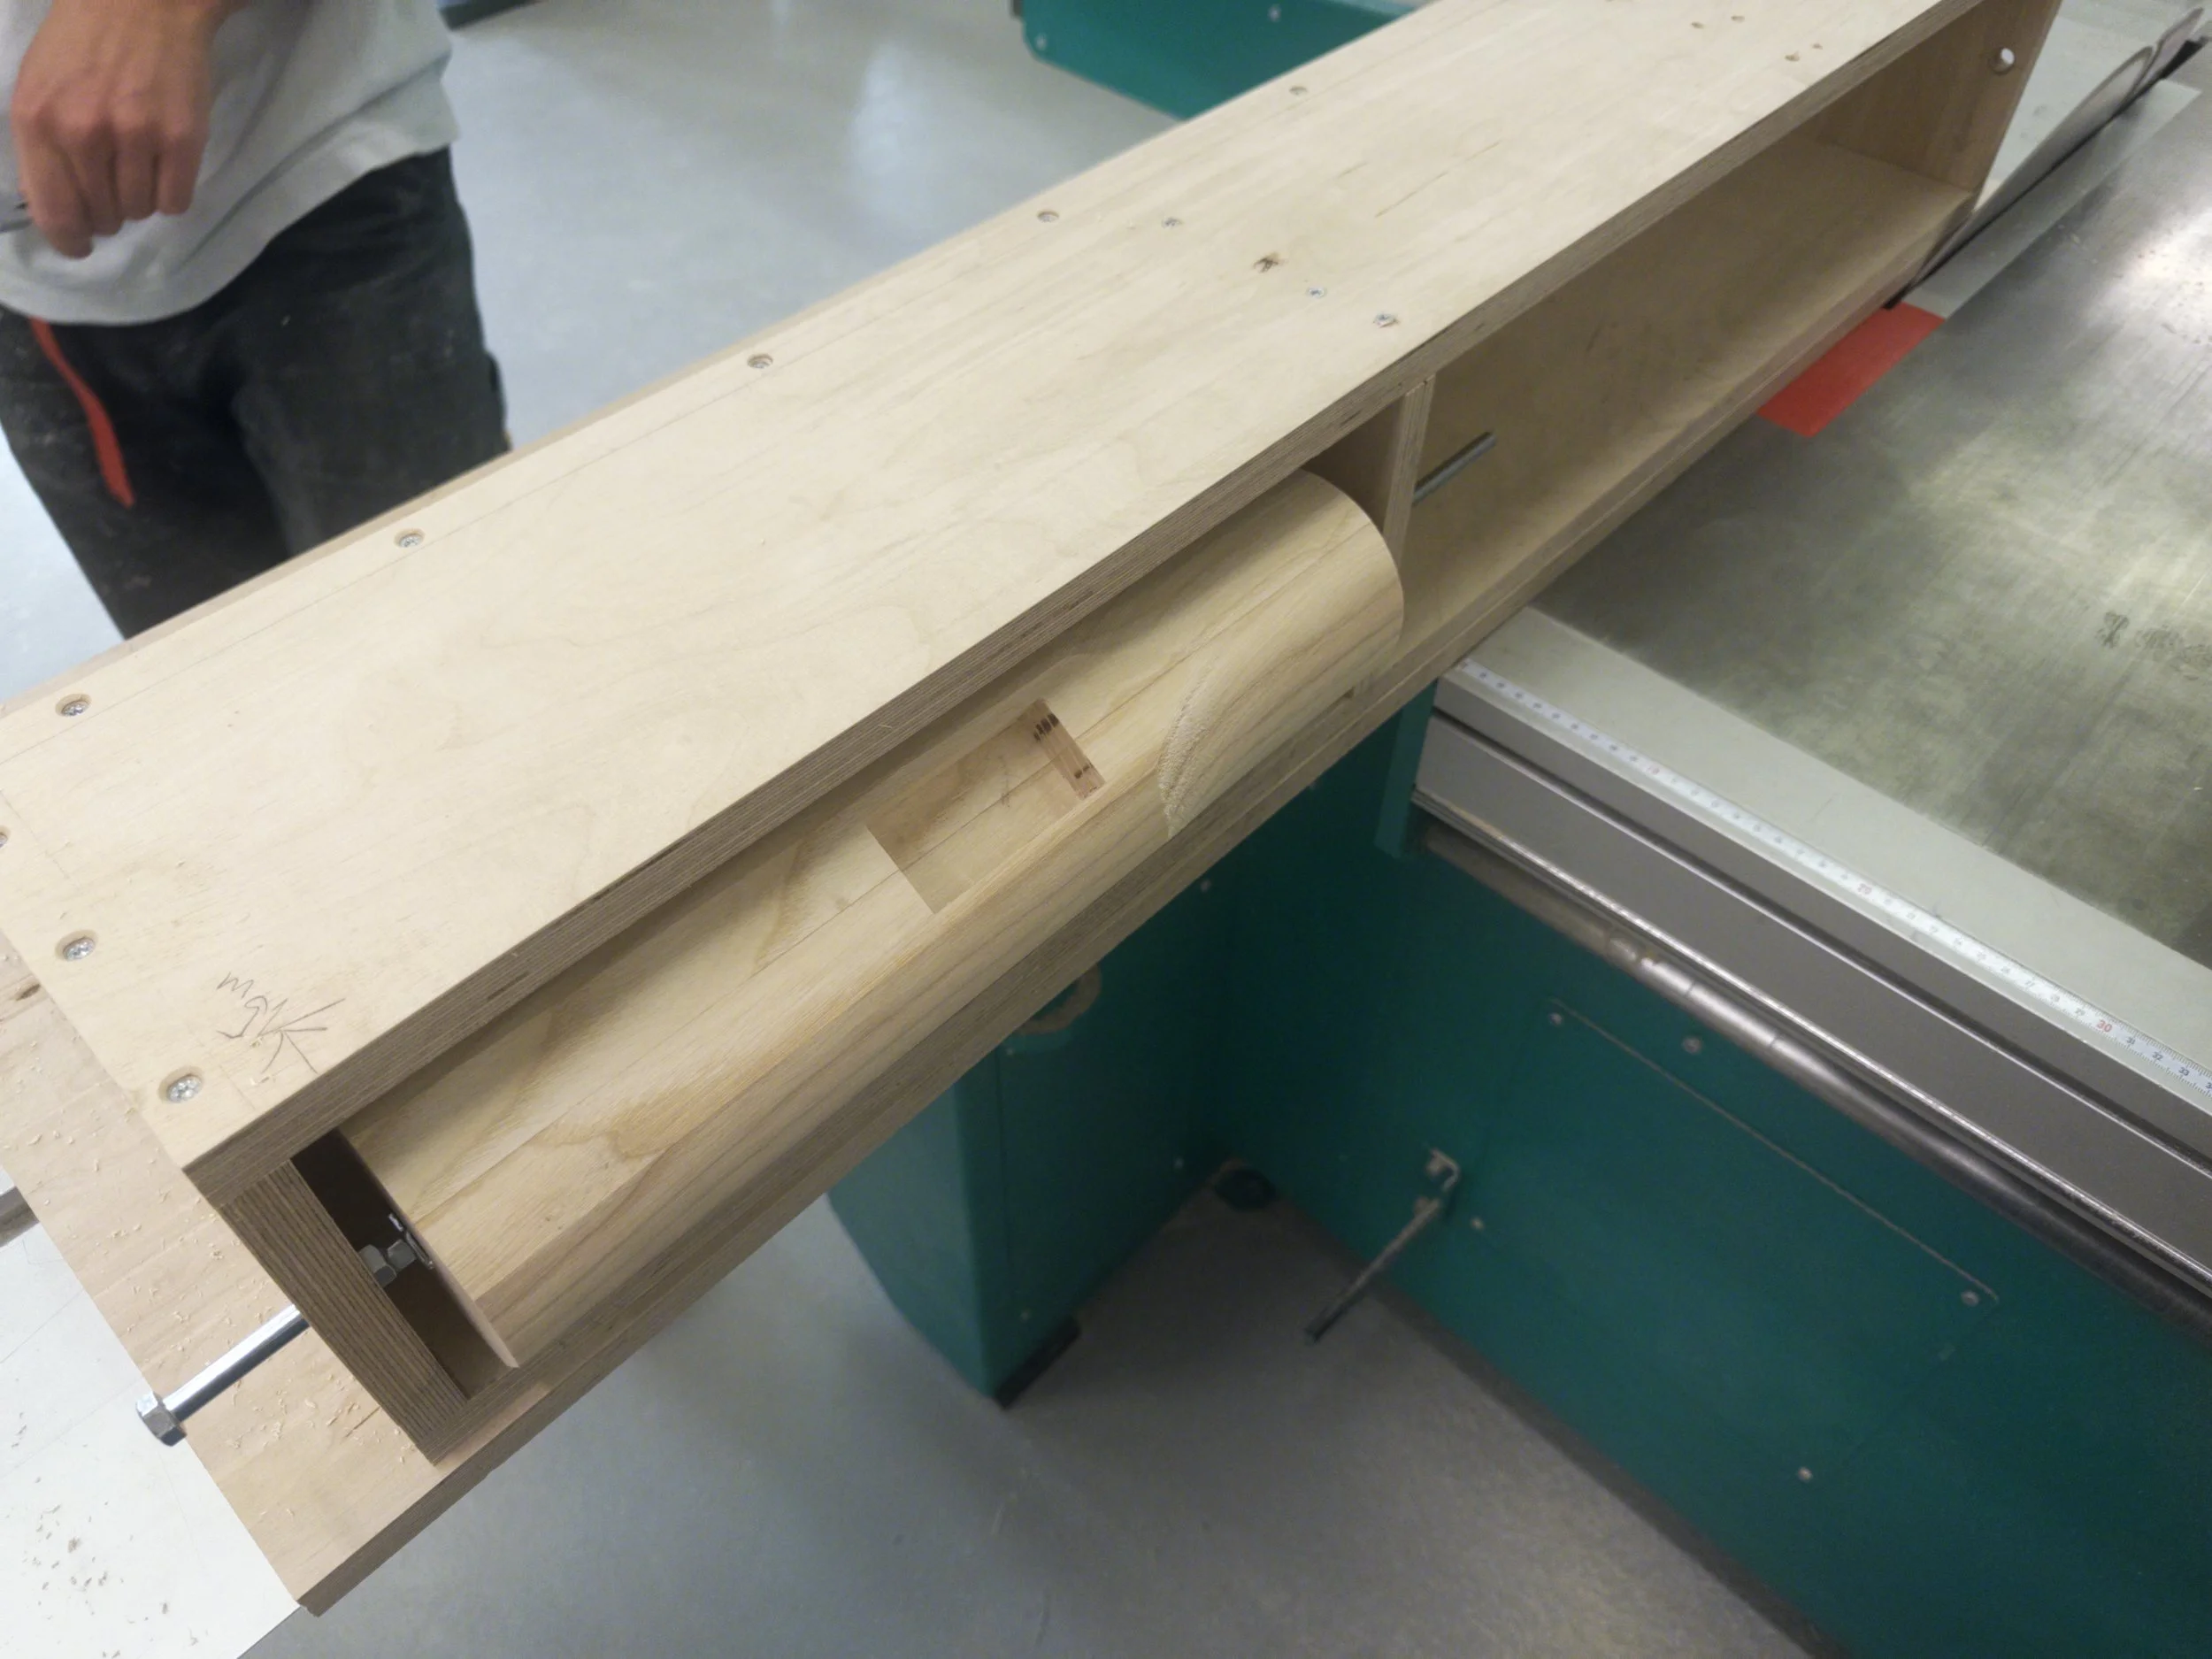
Turning the Backrest on a Table Saw Using a Custom-Built Lathe Setup
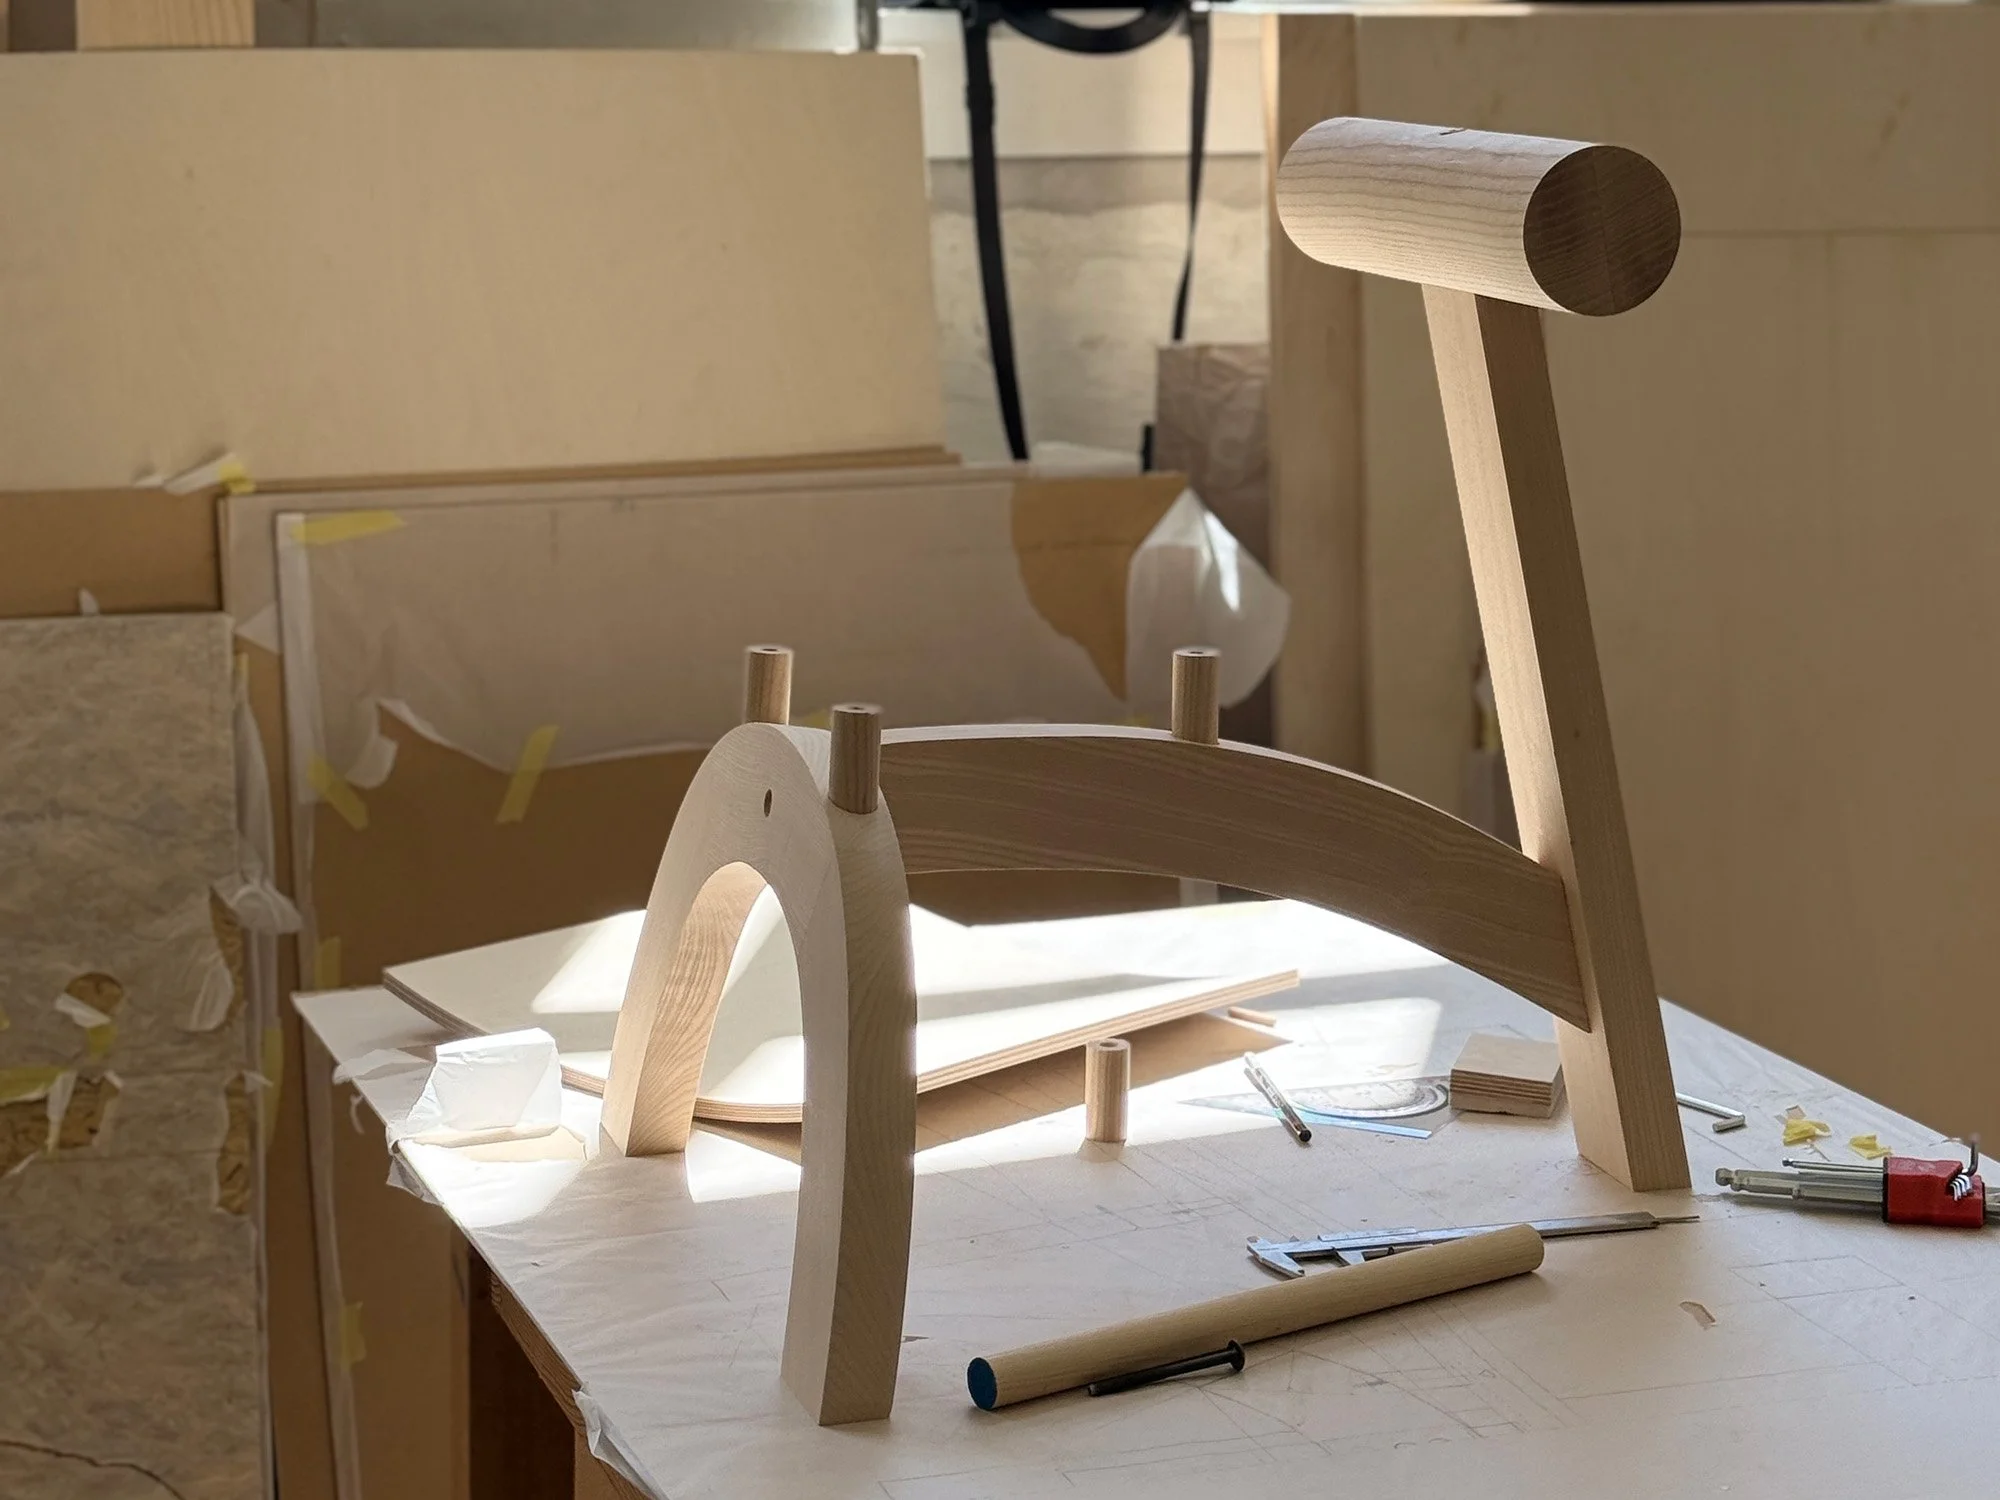
A Lot of Sanding, then Testing Joints
05 — Reflection
This project really opened my eyes to my own capabilities as a designer. Most of my past projects have been more conceptual, so I haven't had to think as much about functionality and ergonomics. This project pushed me to think more about designing for people and how to make a design comfortable and practical to use.
Since my design was an original concept, I had to figure out most of the measurements through trial and error by testing it myself. I actually really enjoyed this process because it allowed me to make adjustments based on how the design felt and worked in real life.